

Hello! I'm a graduate student who has wandered through electronics, electrical engineering, and computer engineering, and is now getting a taste of mechanical engineering... sort of?
Nothing too grand today. This post is about replacing the fuel filter and tail light on the used Santa Fe I bought with my severance pay.
First, the tail light...
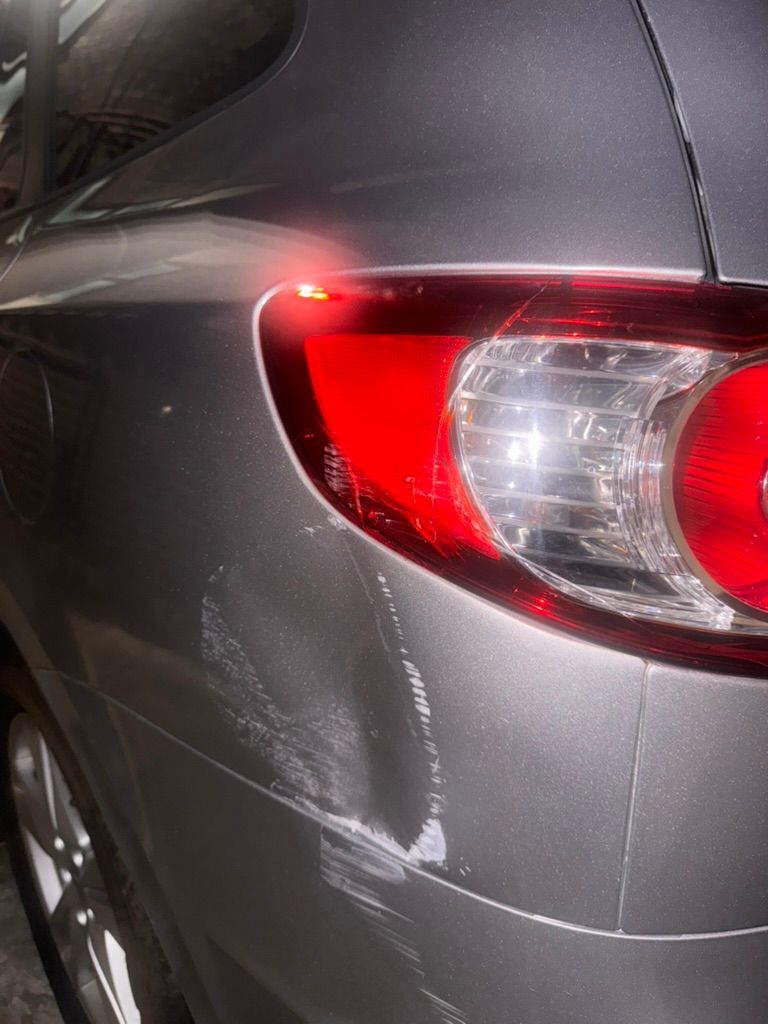
Late one night, I was wandering through the narrow residential streets of Seoul without navigation.
I failed to spot a dark concrete wall and gave the car a proper smash.
I don't really mind the battered bodywork, but the tail light on the fender had a long crack in it.
That didn't seem like something I should leave alone when it rains, so I decided to replace it.
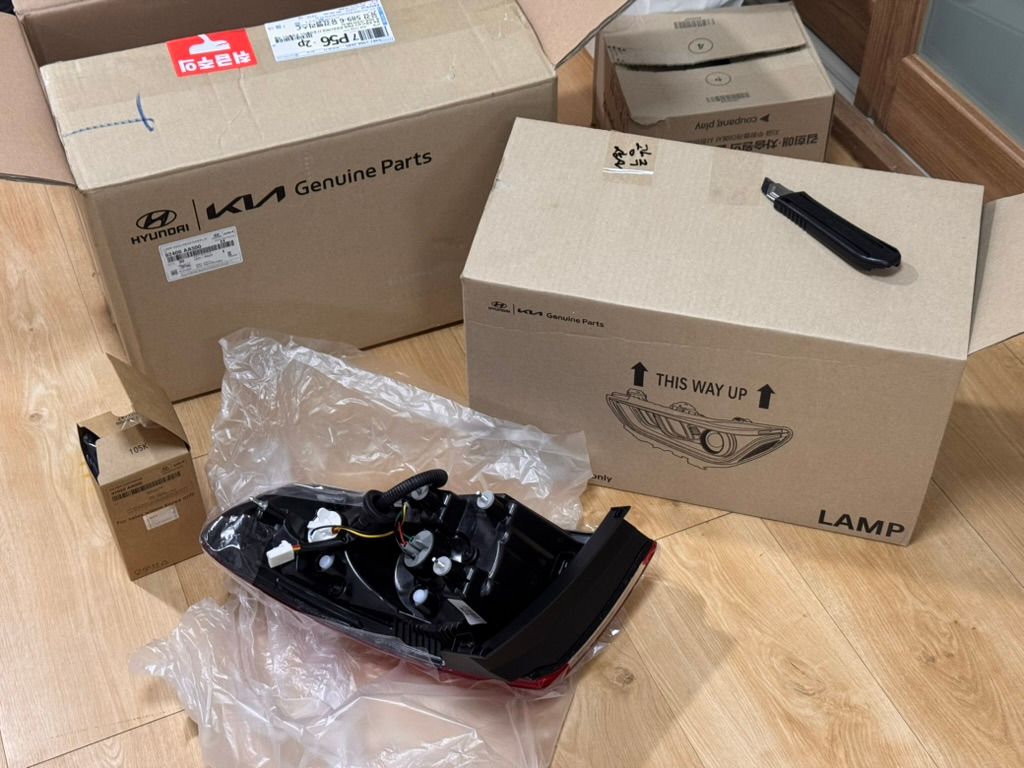
Looking online, I found both used and brand-new replacement parts.
Used ones were around KRW 20,000–30,000, while a new one was KRW 50,000, so I just ordered a new one.
Even within the Santa Fe CM generation, some parts differ by model year, so make sure to check.
If the ordering page has a field for your VIN, enter it there and the seller should check compatibility for you.
Before starting, disconnect the negative (−) battery terminal, just to be safe!!!
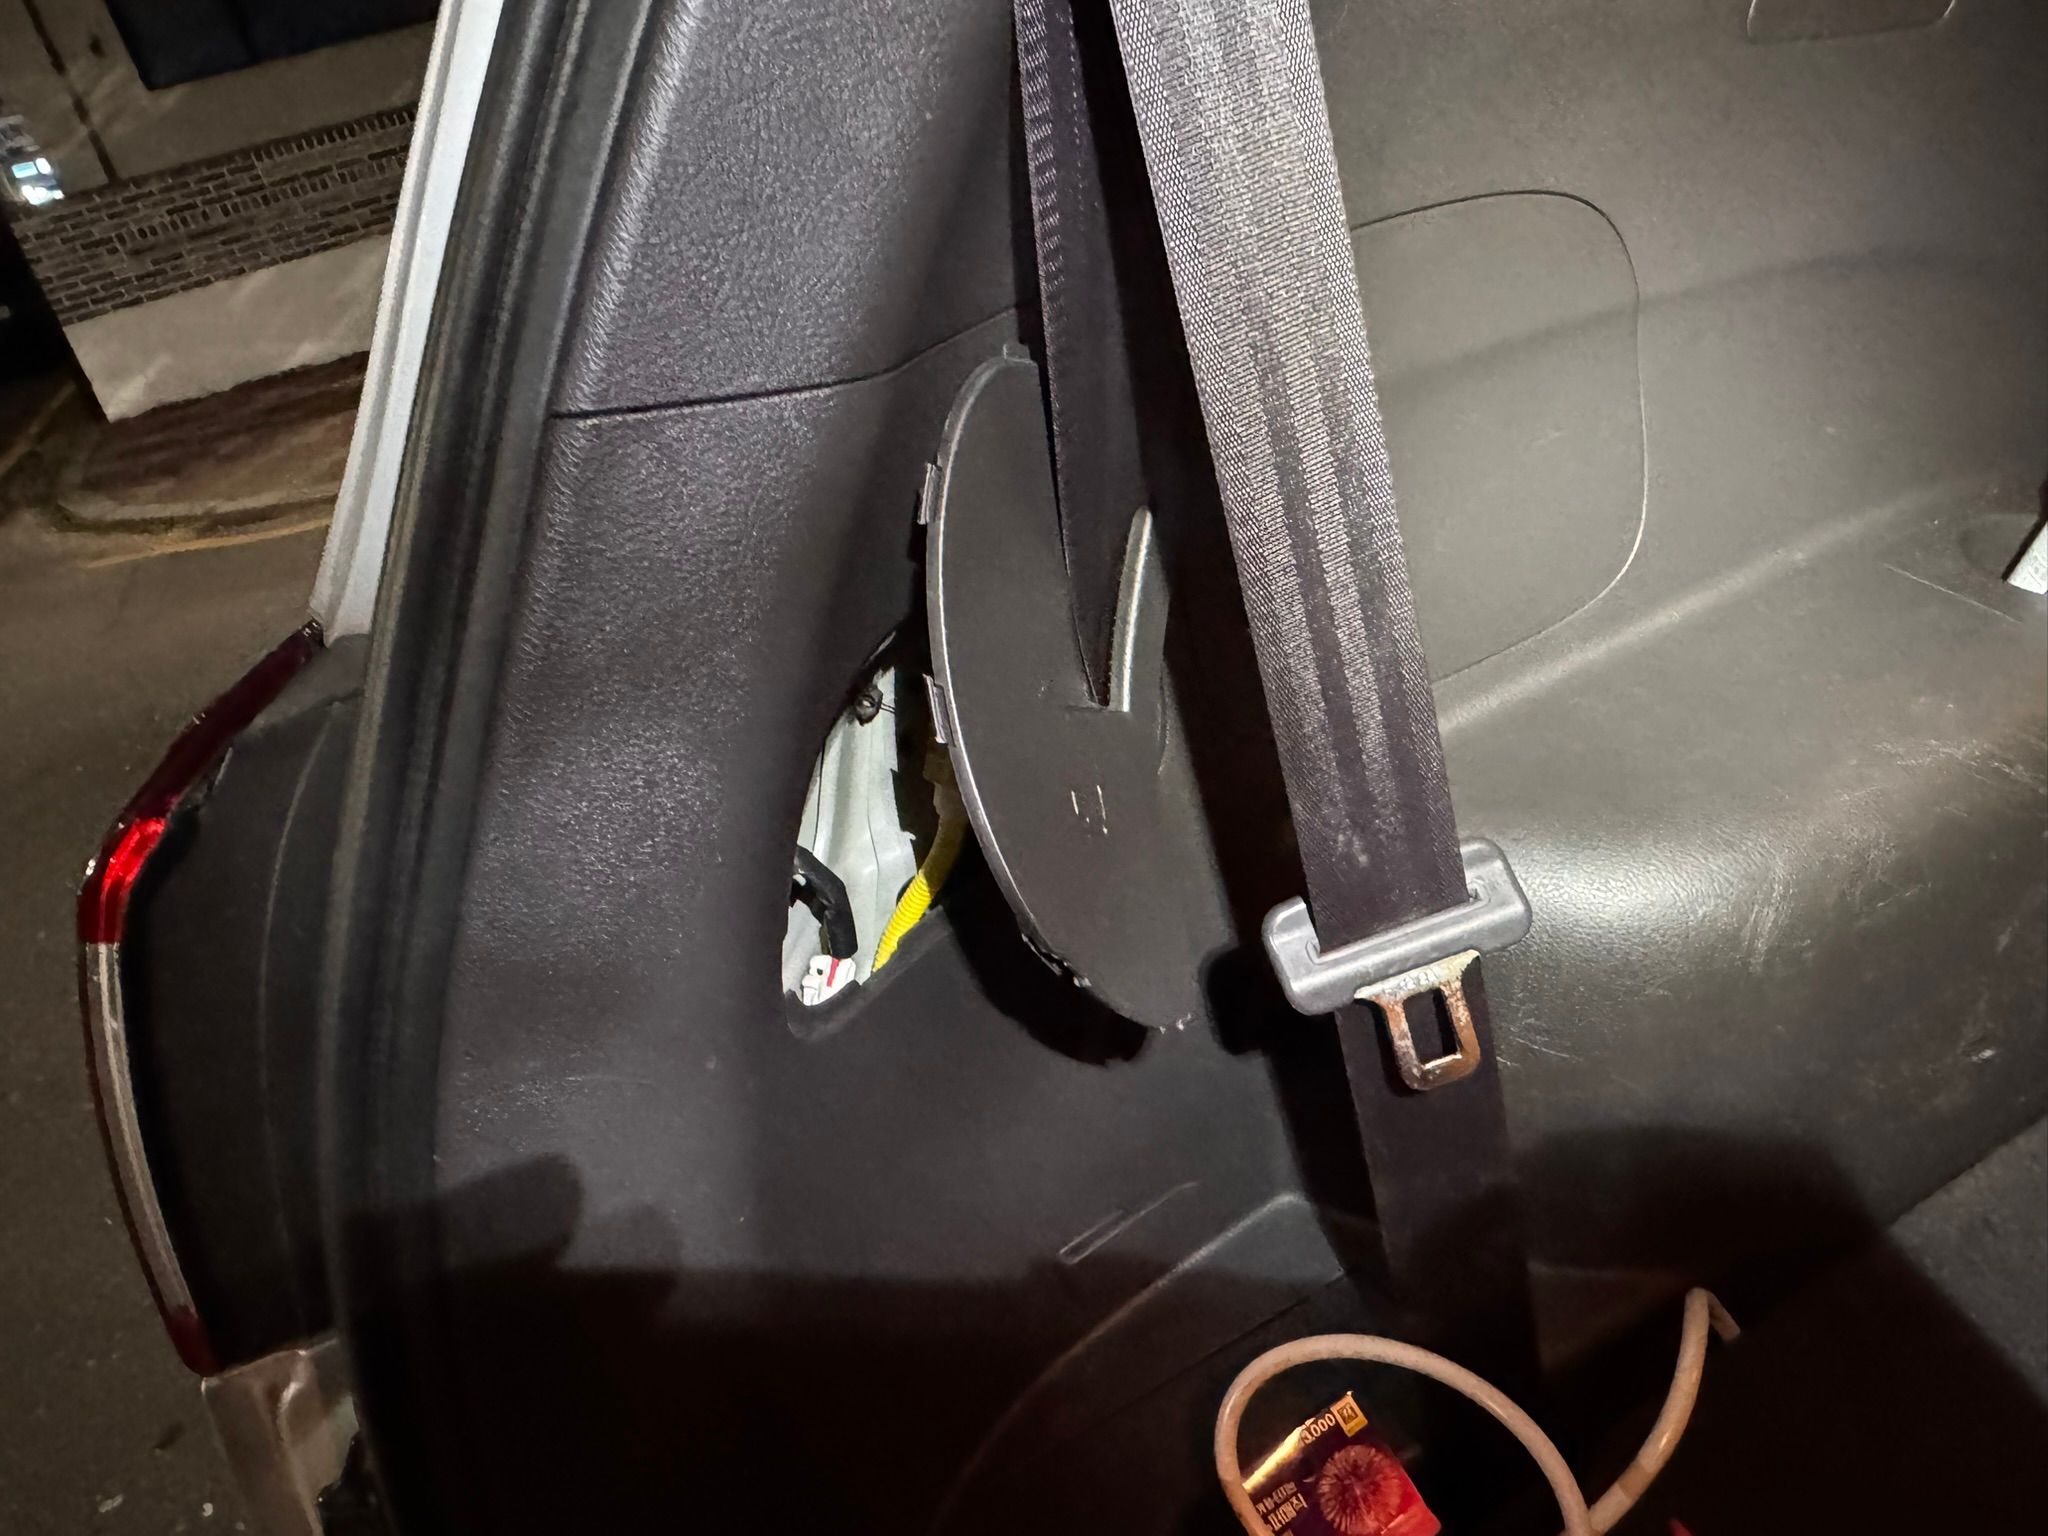
At the back of the trunk, find this access panel and pry it open by slipping a trim-removal tool into the gap.
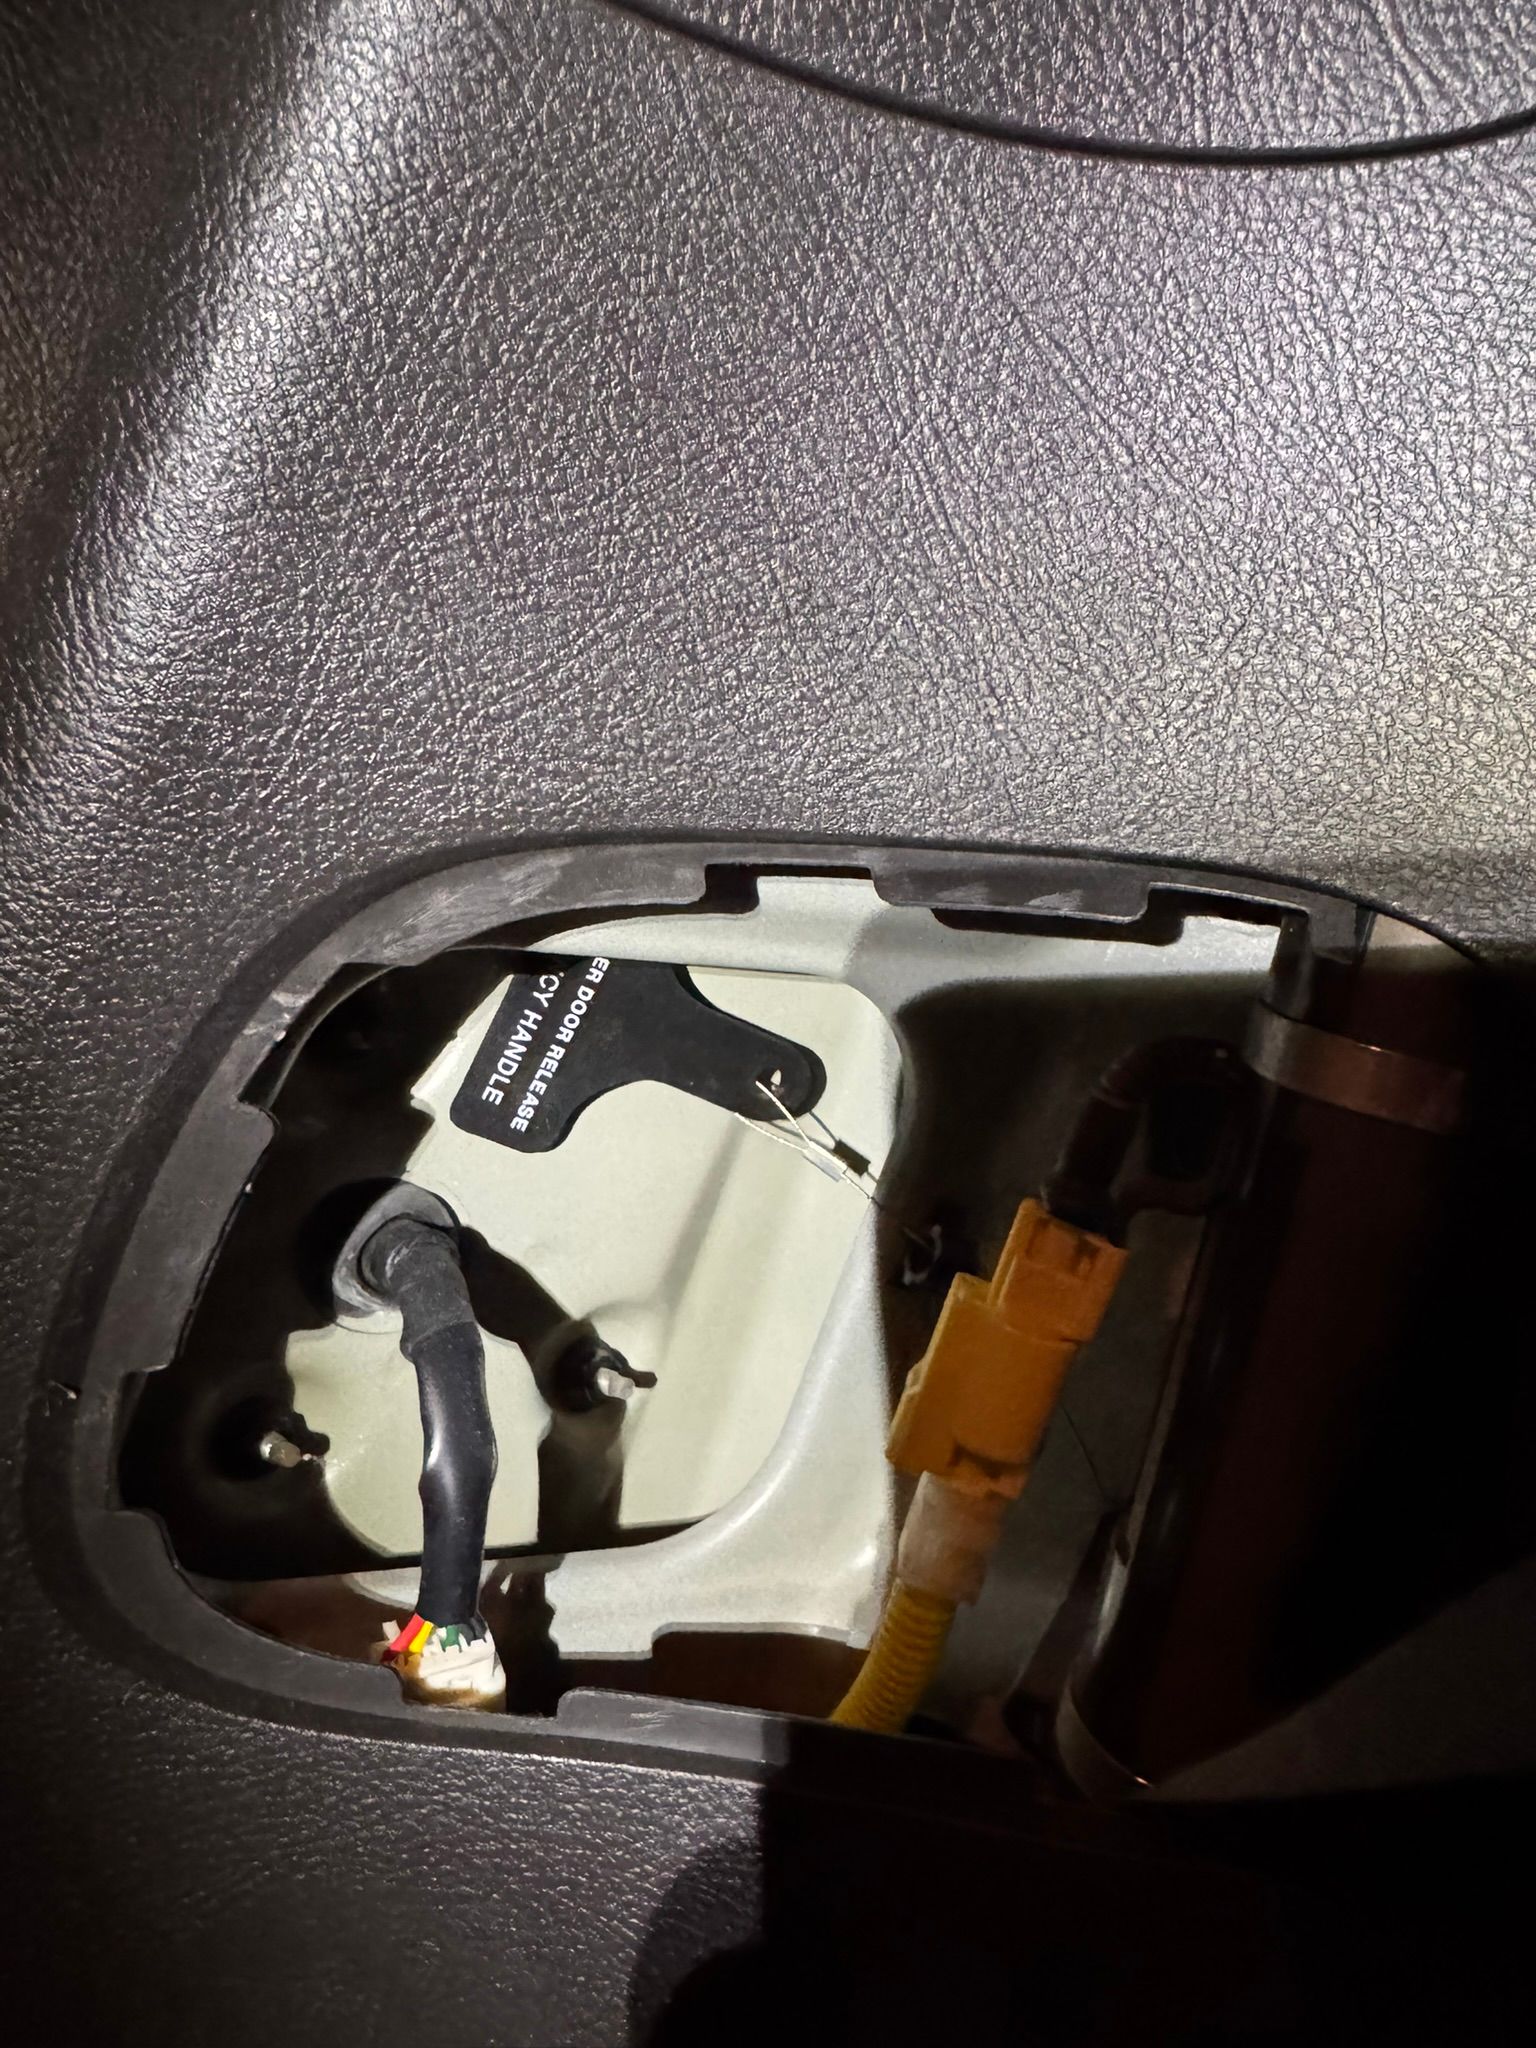
Inside, you'll see the light's wiring on the left and three nuts around it. Disconnect the wiring and remove those nuts.
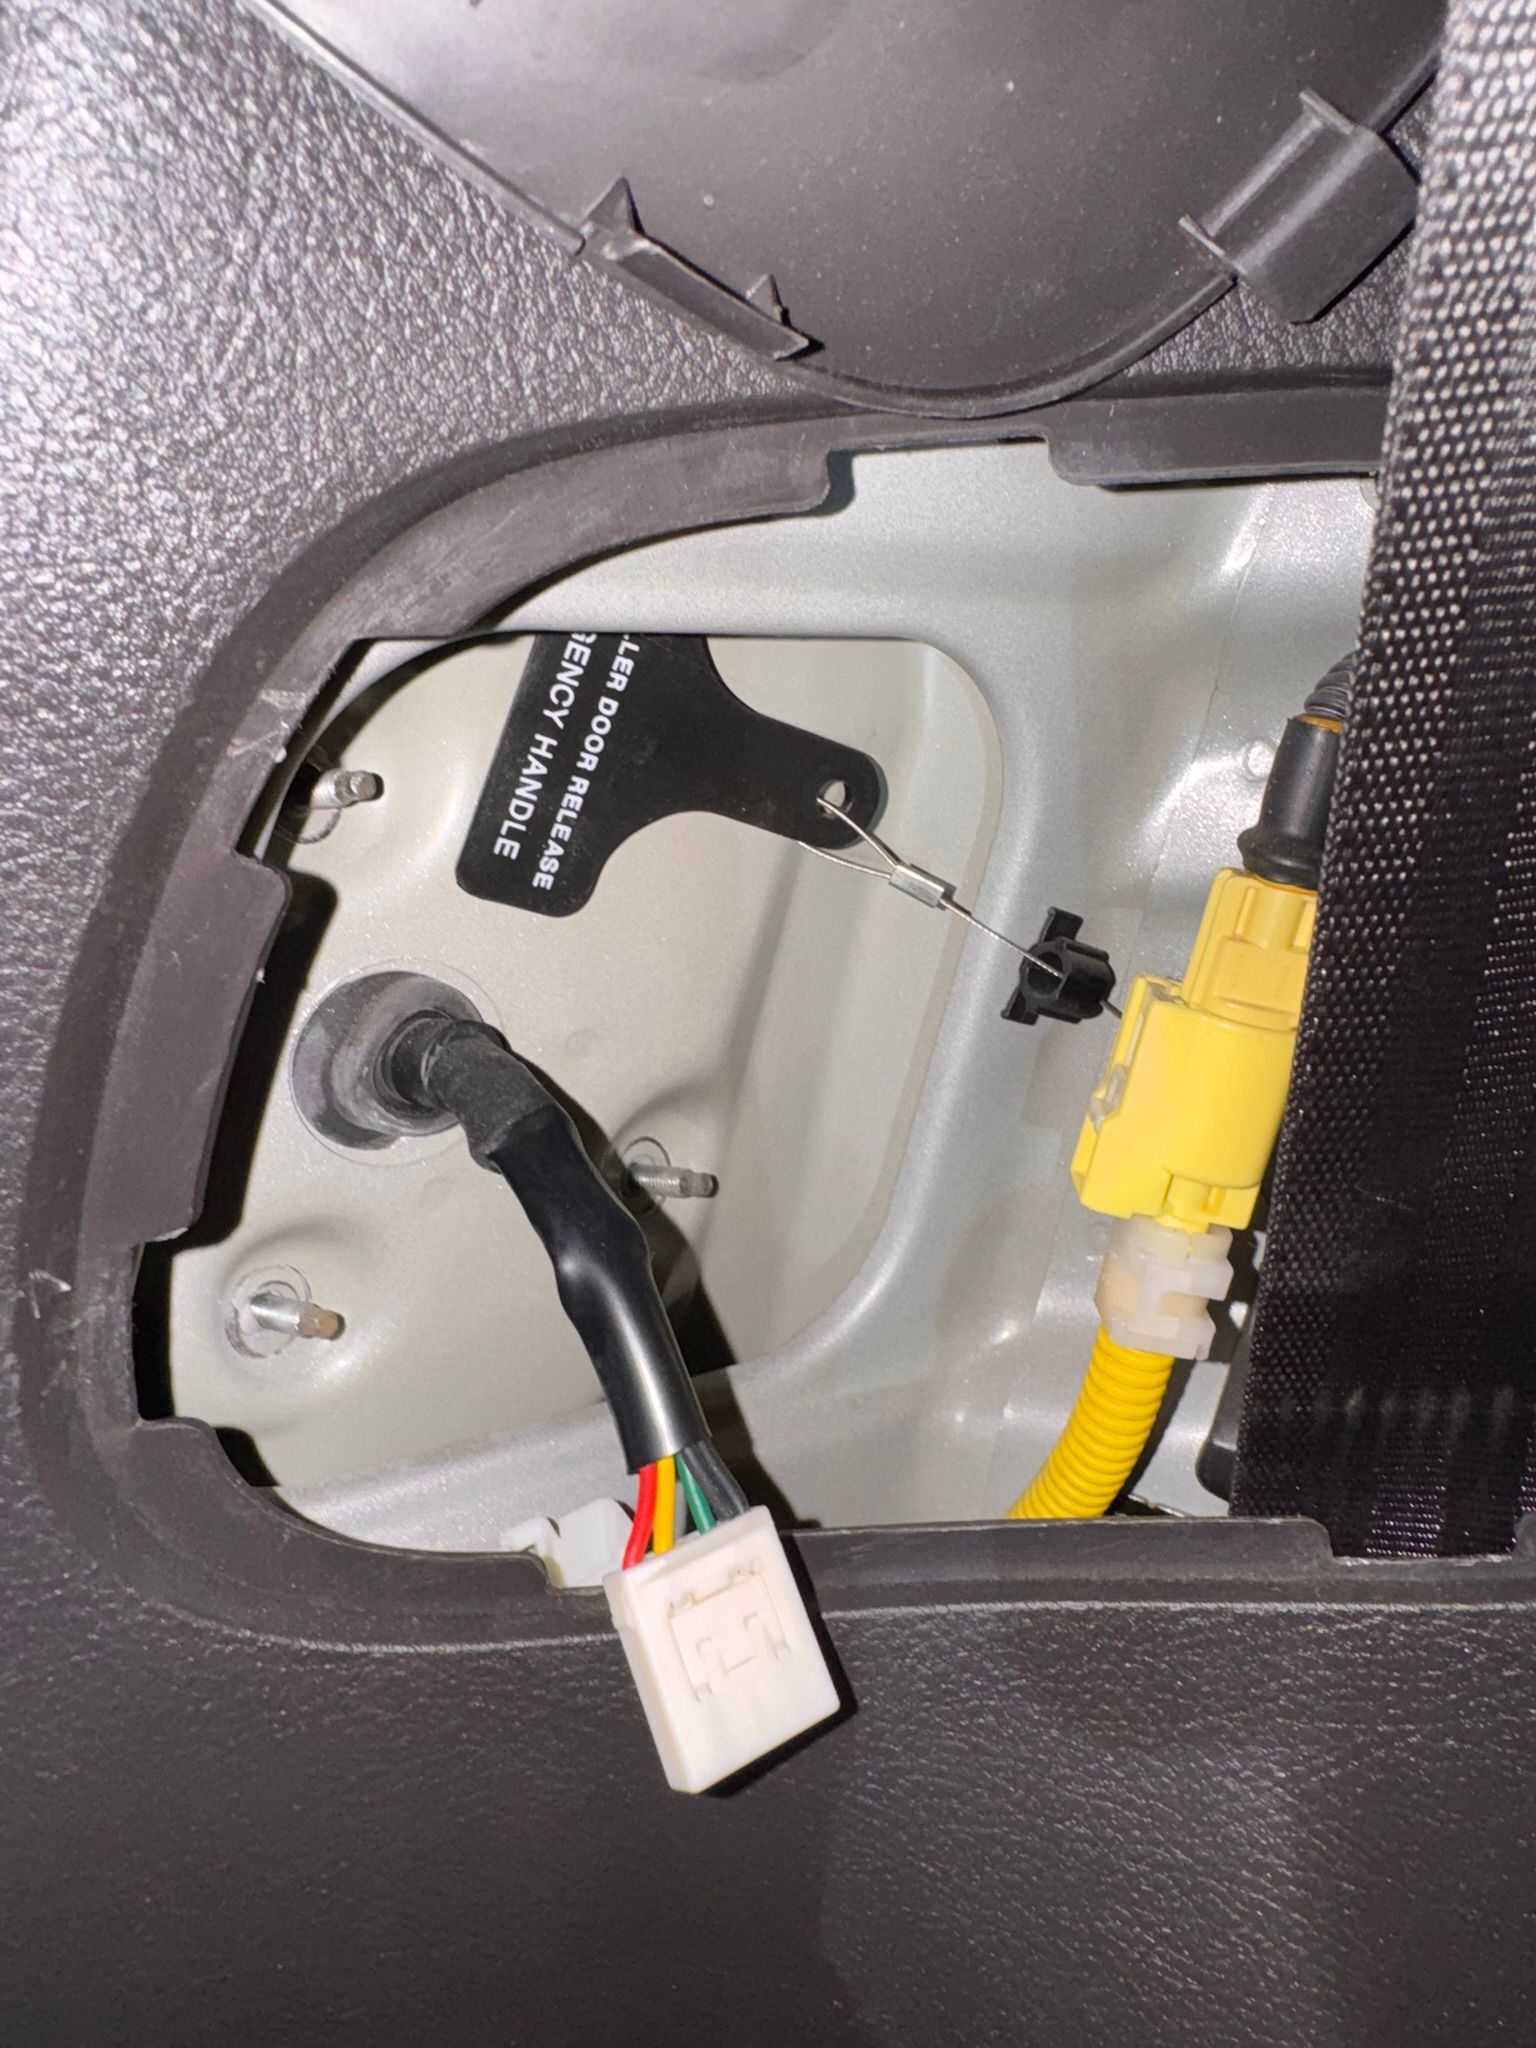
Here it is with the wiring disconnected and the nuts removed.
The electrical connector has a little latch—press it while pulling the connector out.
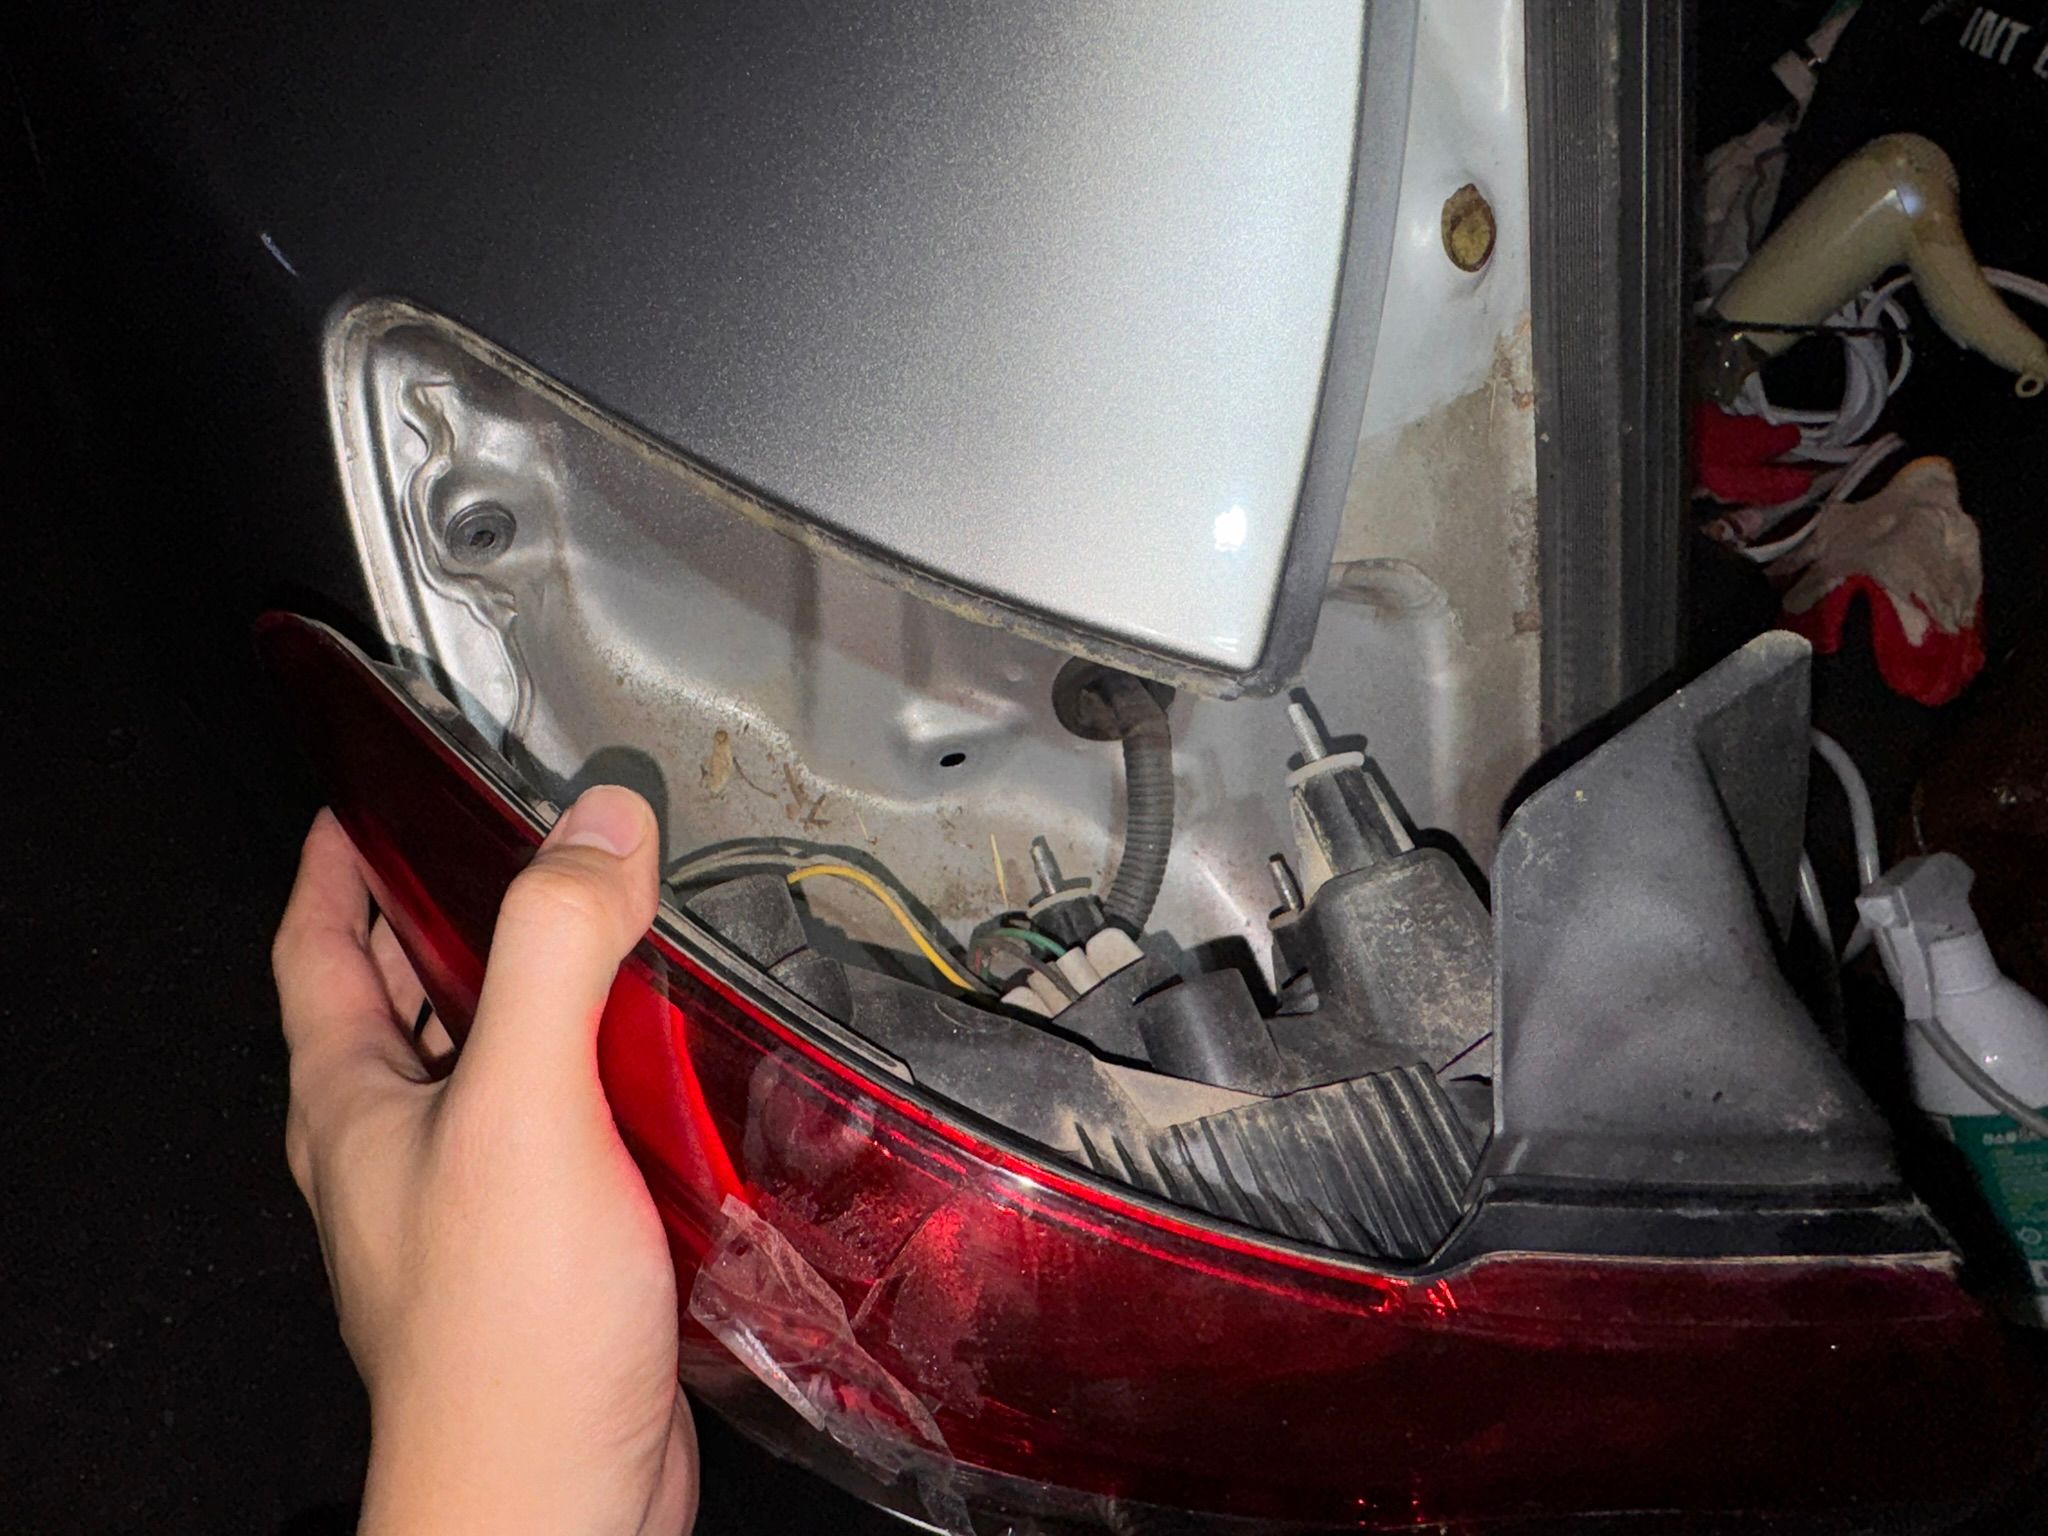
Now pull out the somewhat demolished light.
Mine had seized in place after all those years.
A few taps with my fist loosened it.
Besides the three mounting studs on the right that we saw earlier, there is also a locating pin, or something like one, in the hole at the far left. Gently work that side loose first, and the light will come out.
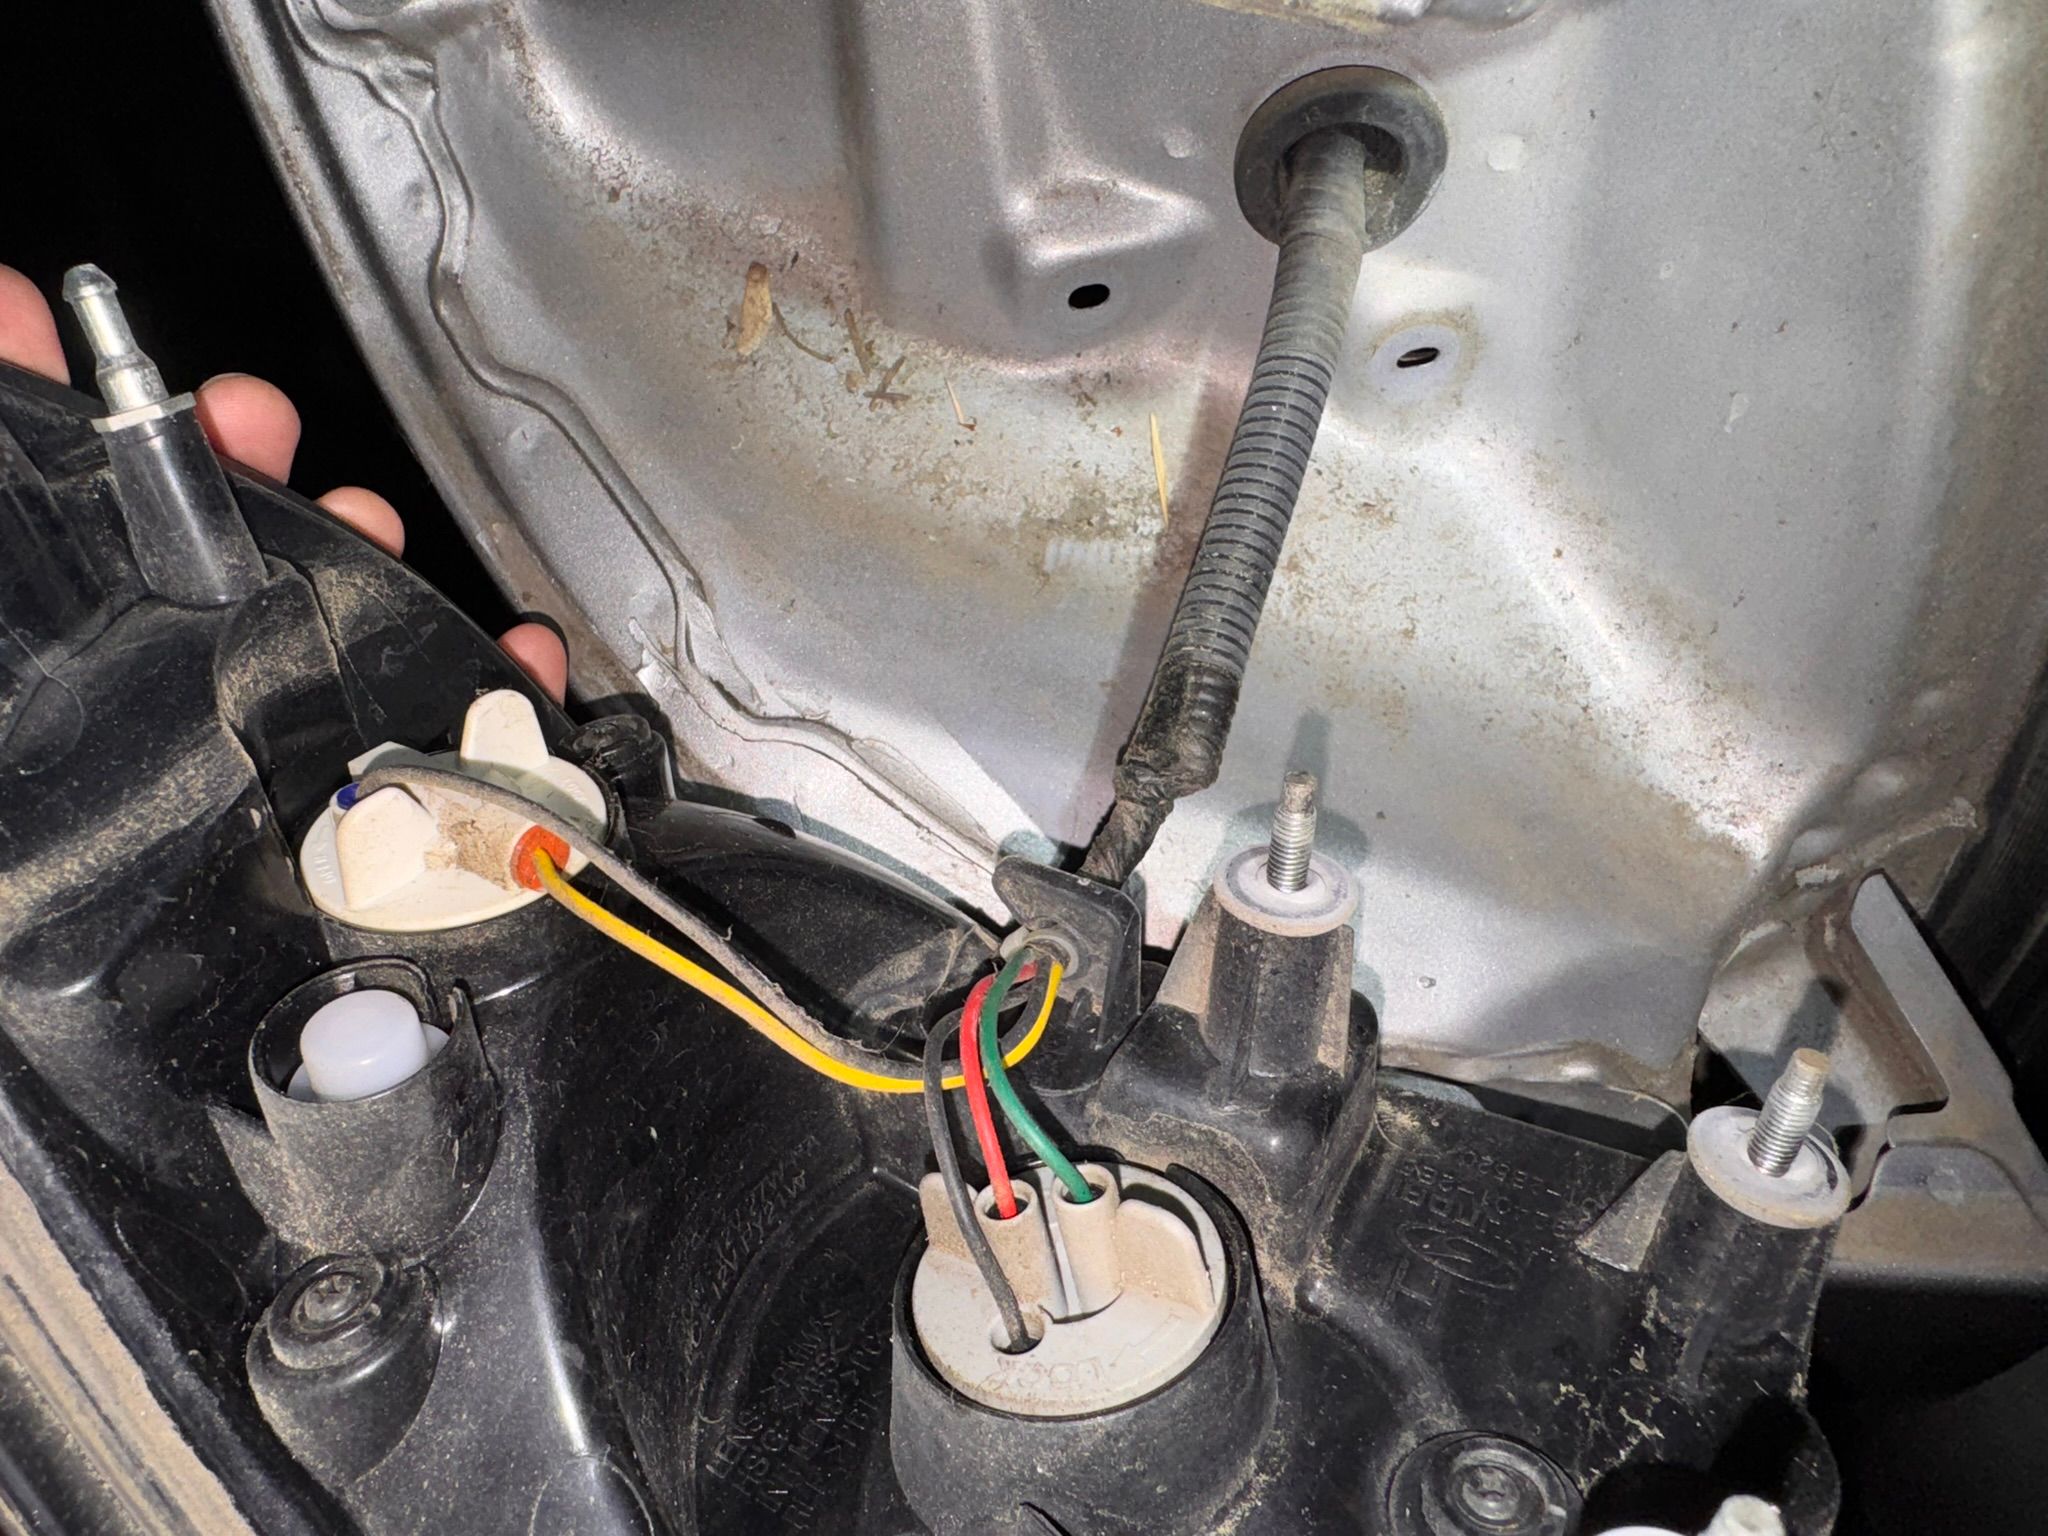
This is what it looks like behind the light.
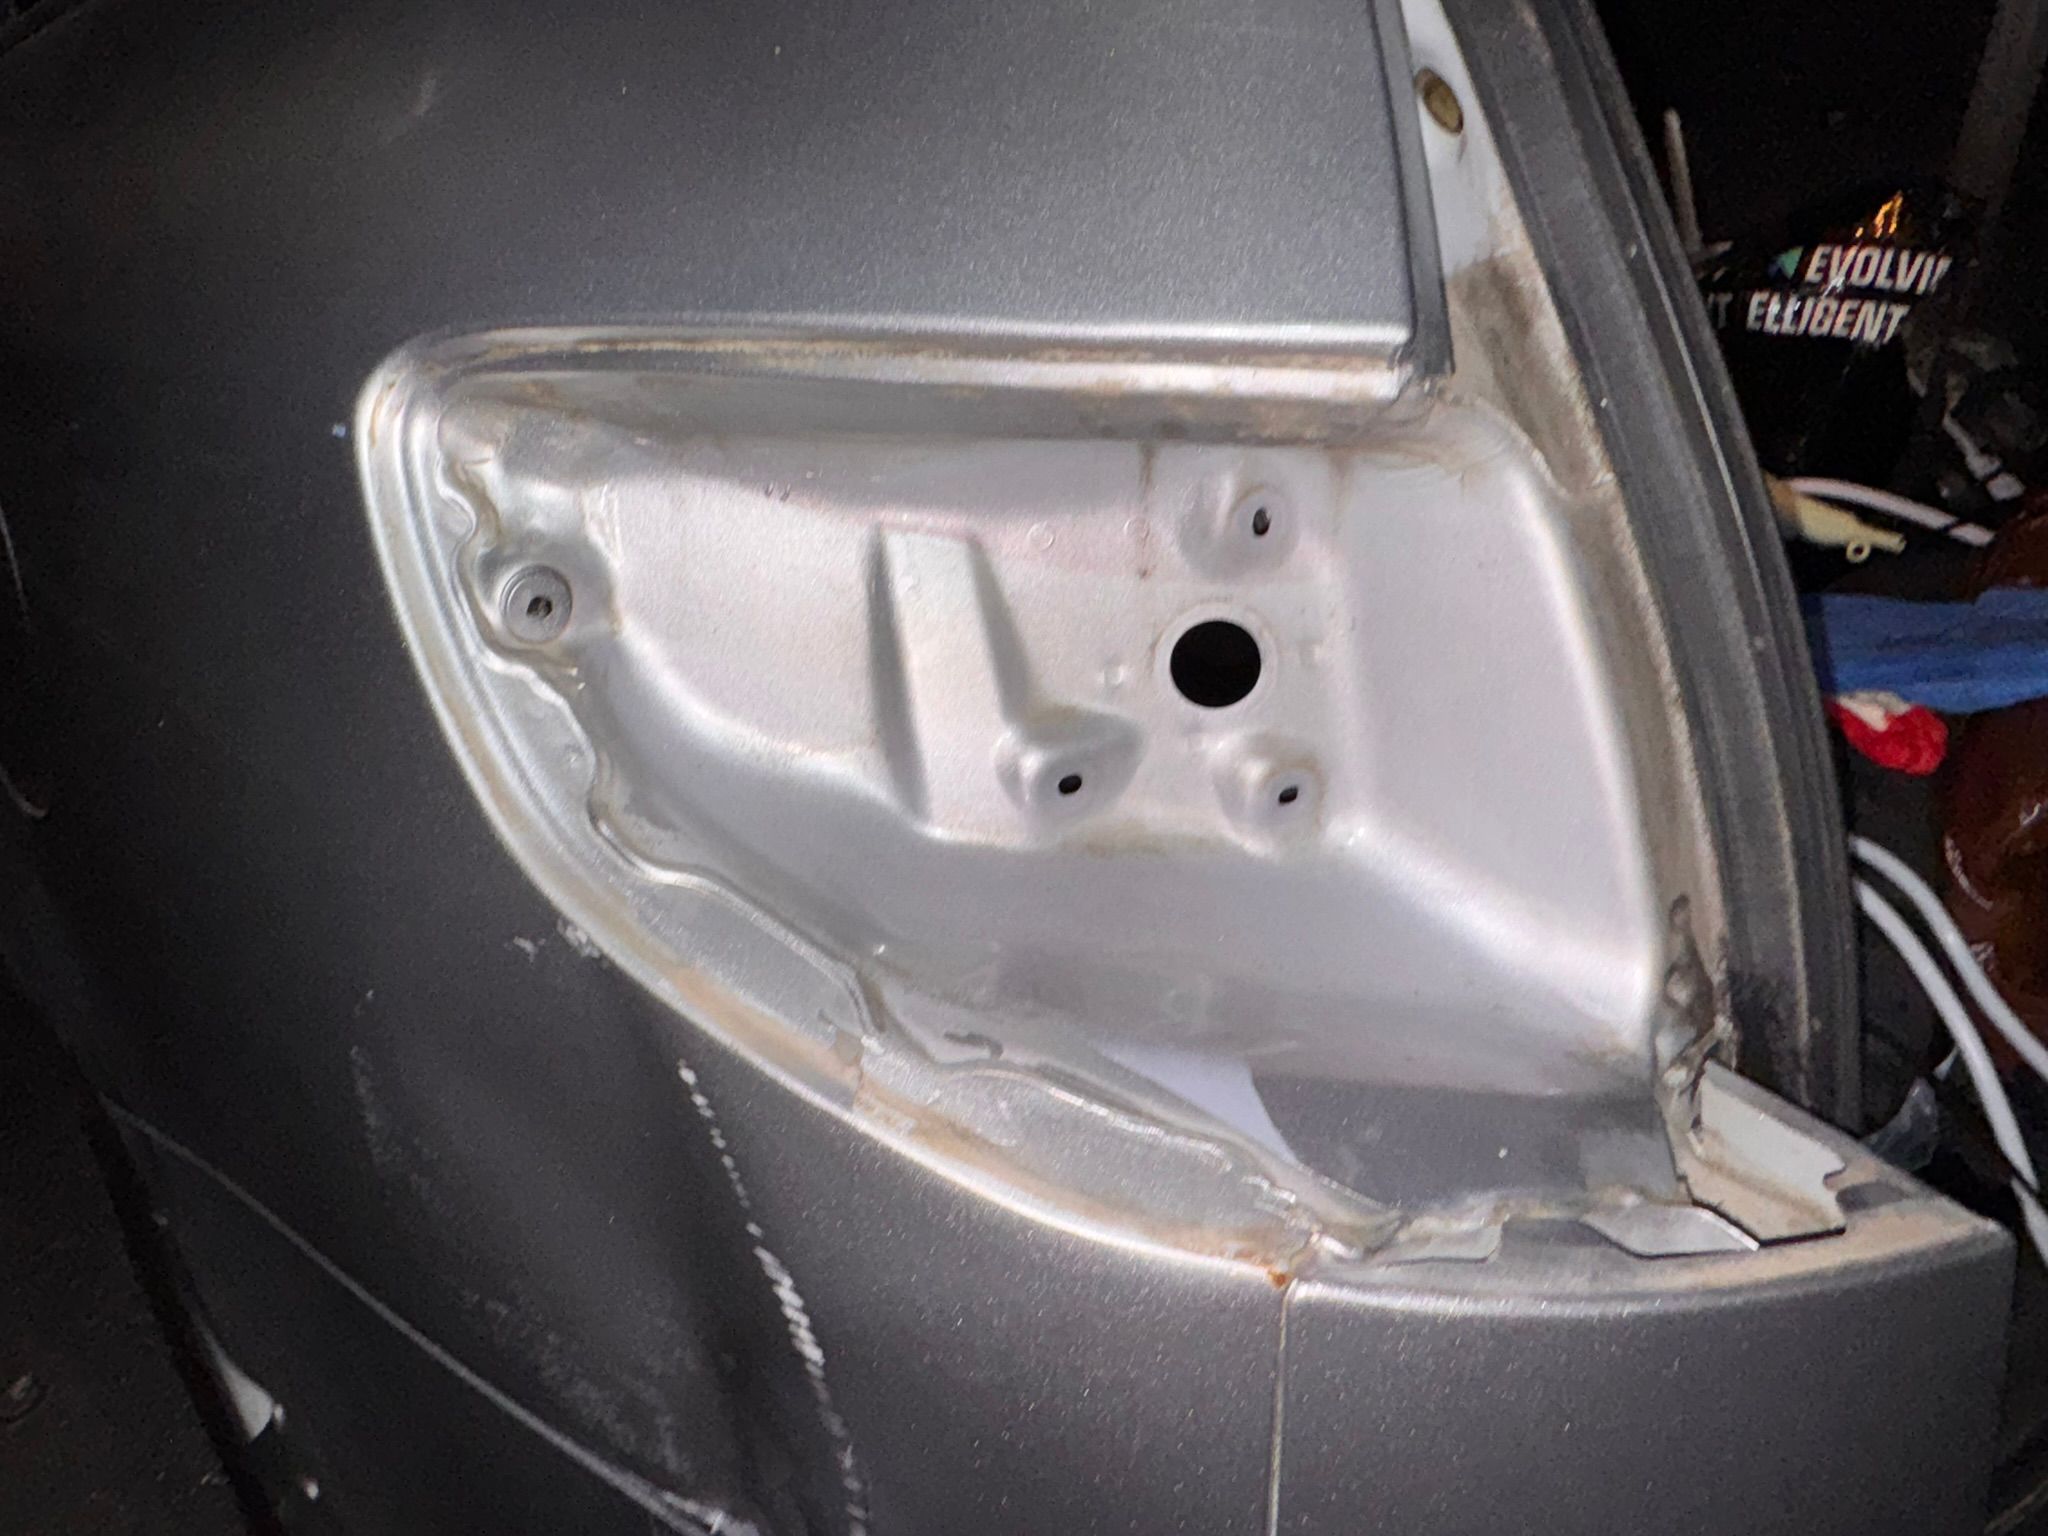
With the light completely removed, I brushed off some of the dirt and dust that had accumulated there.
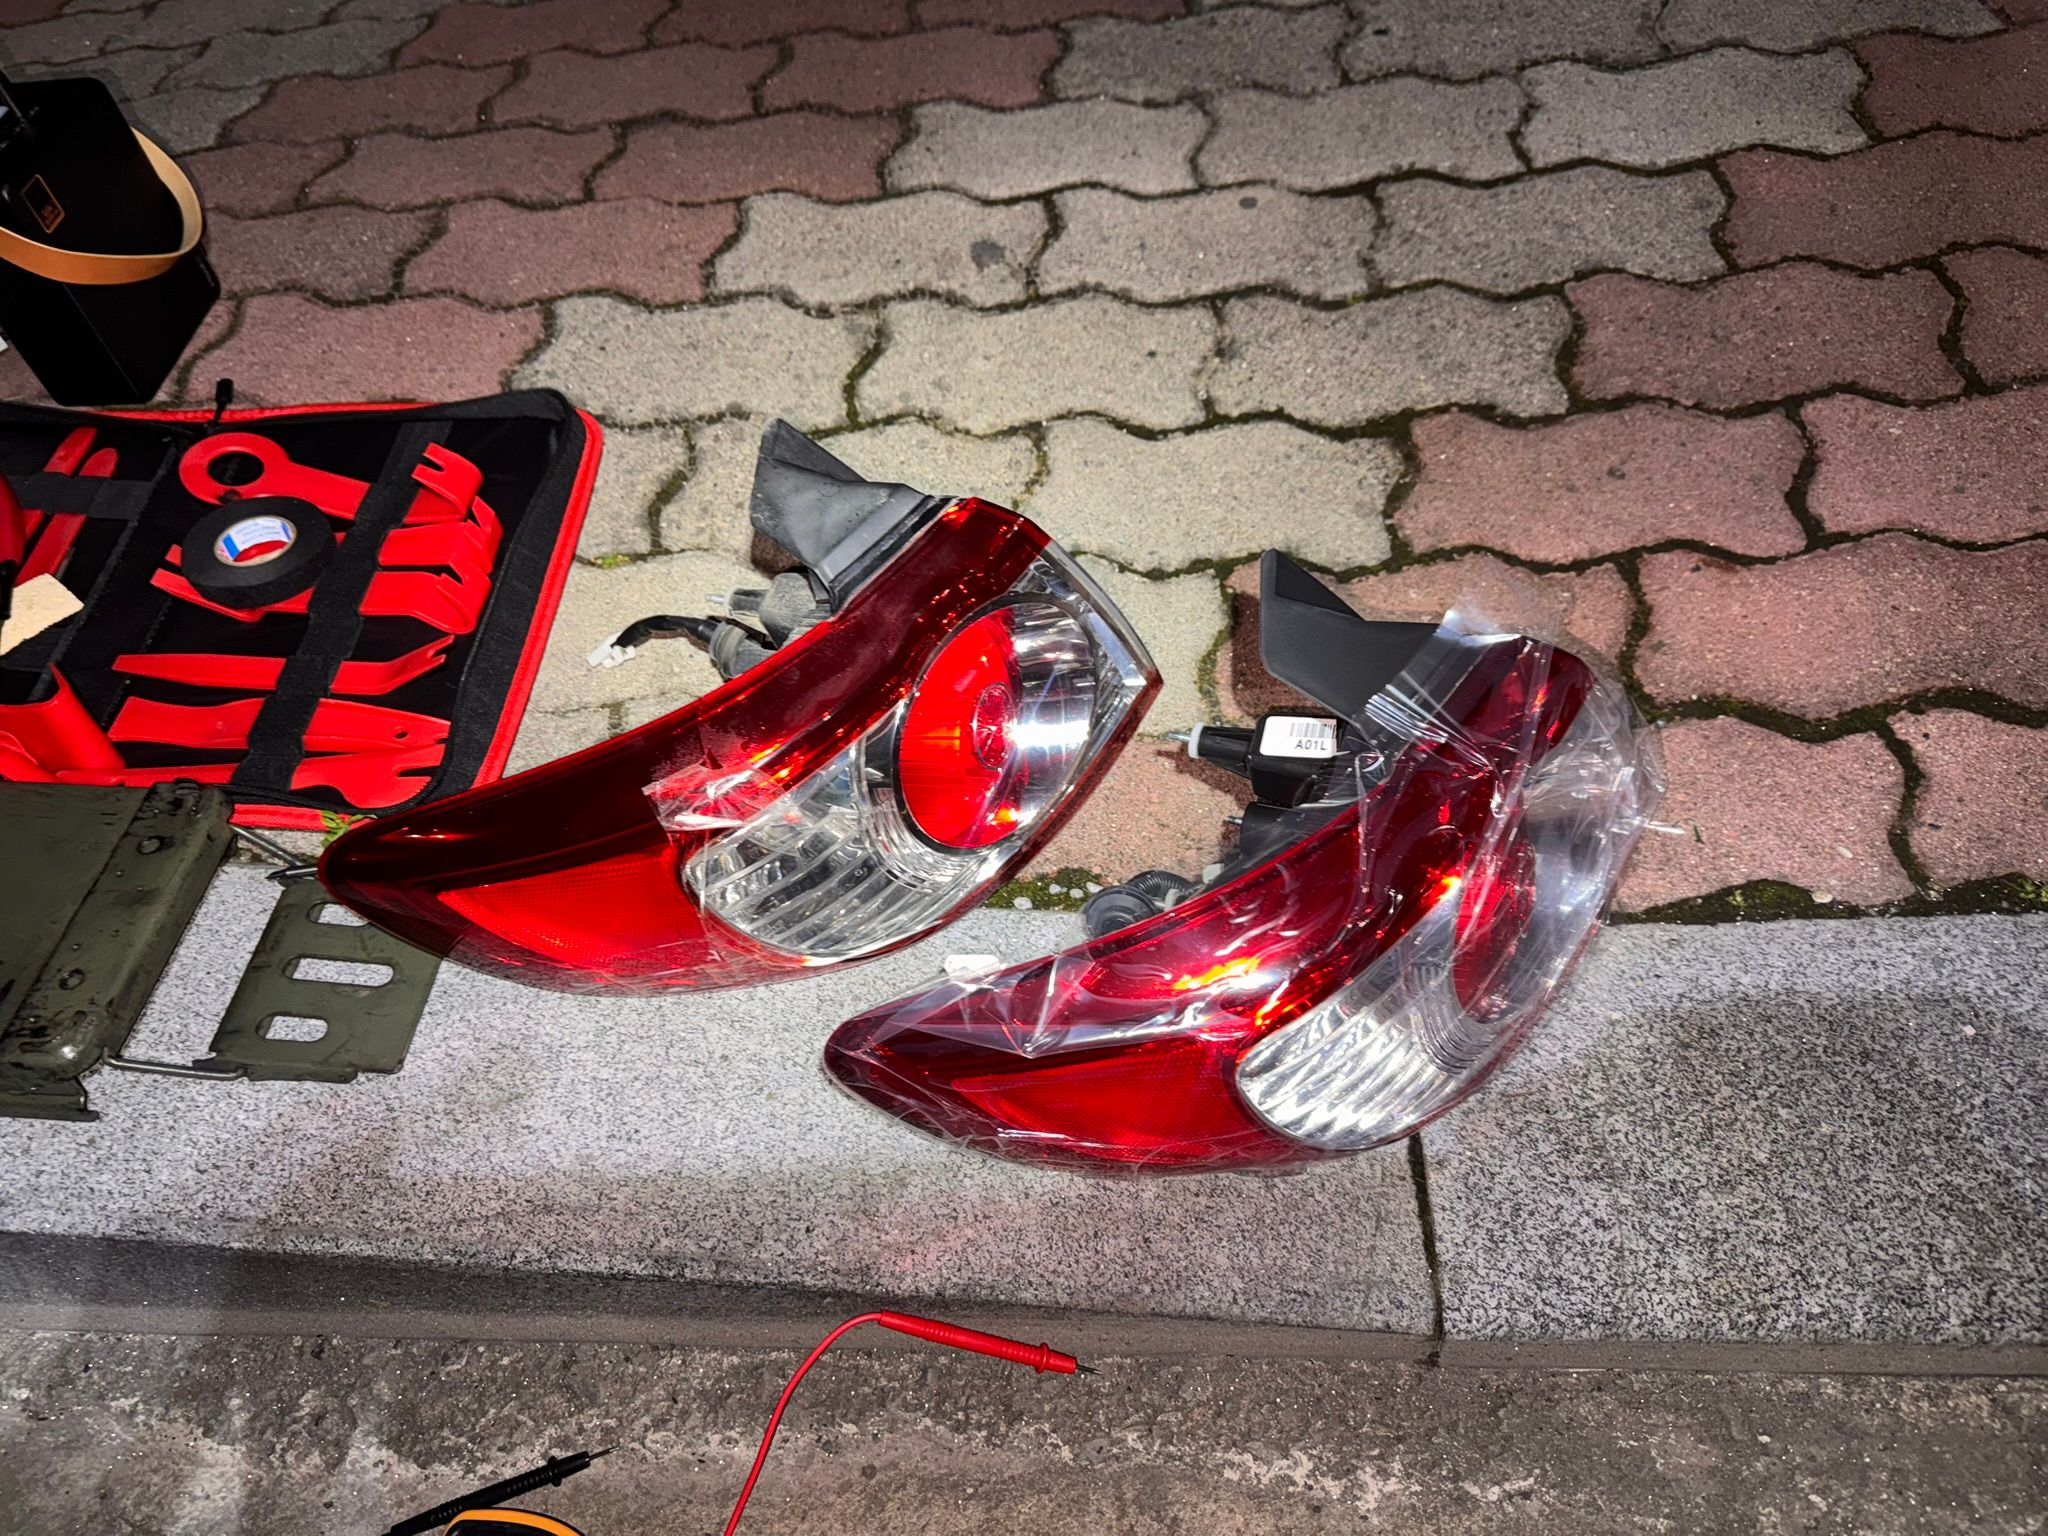
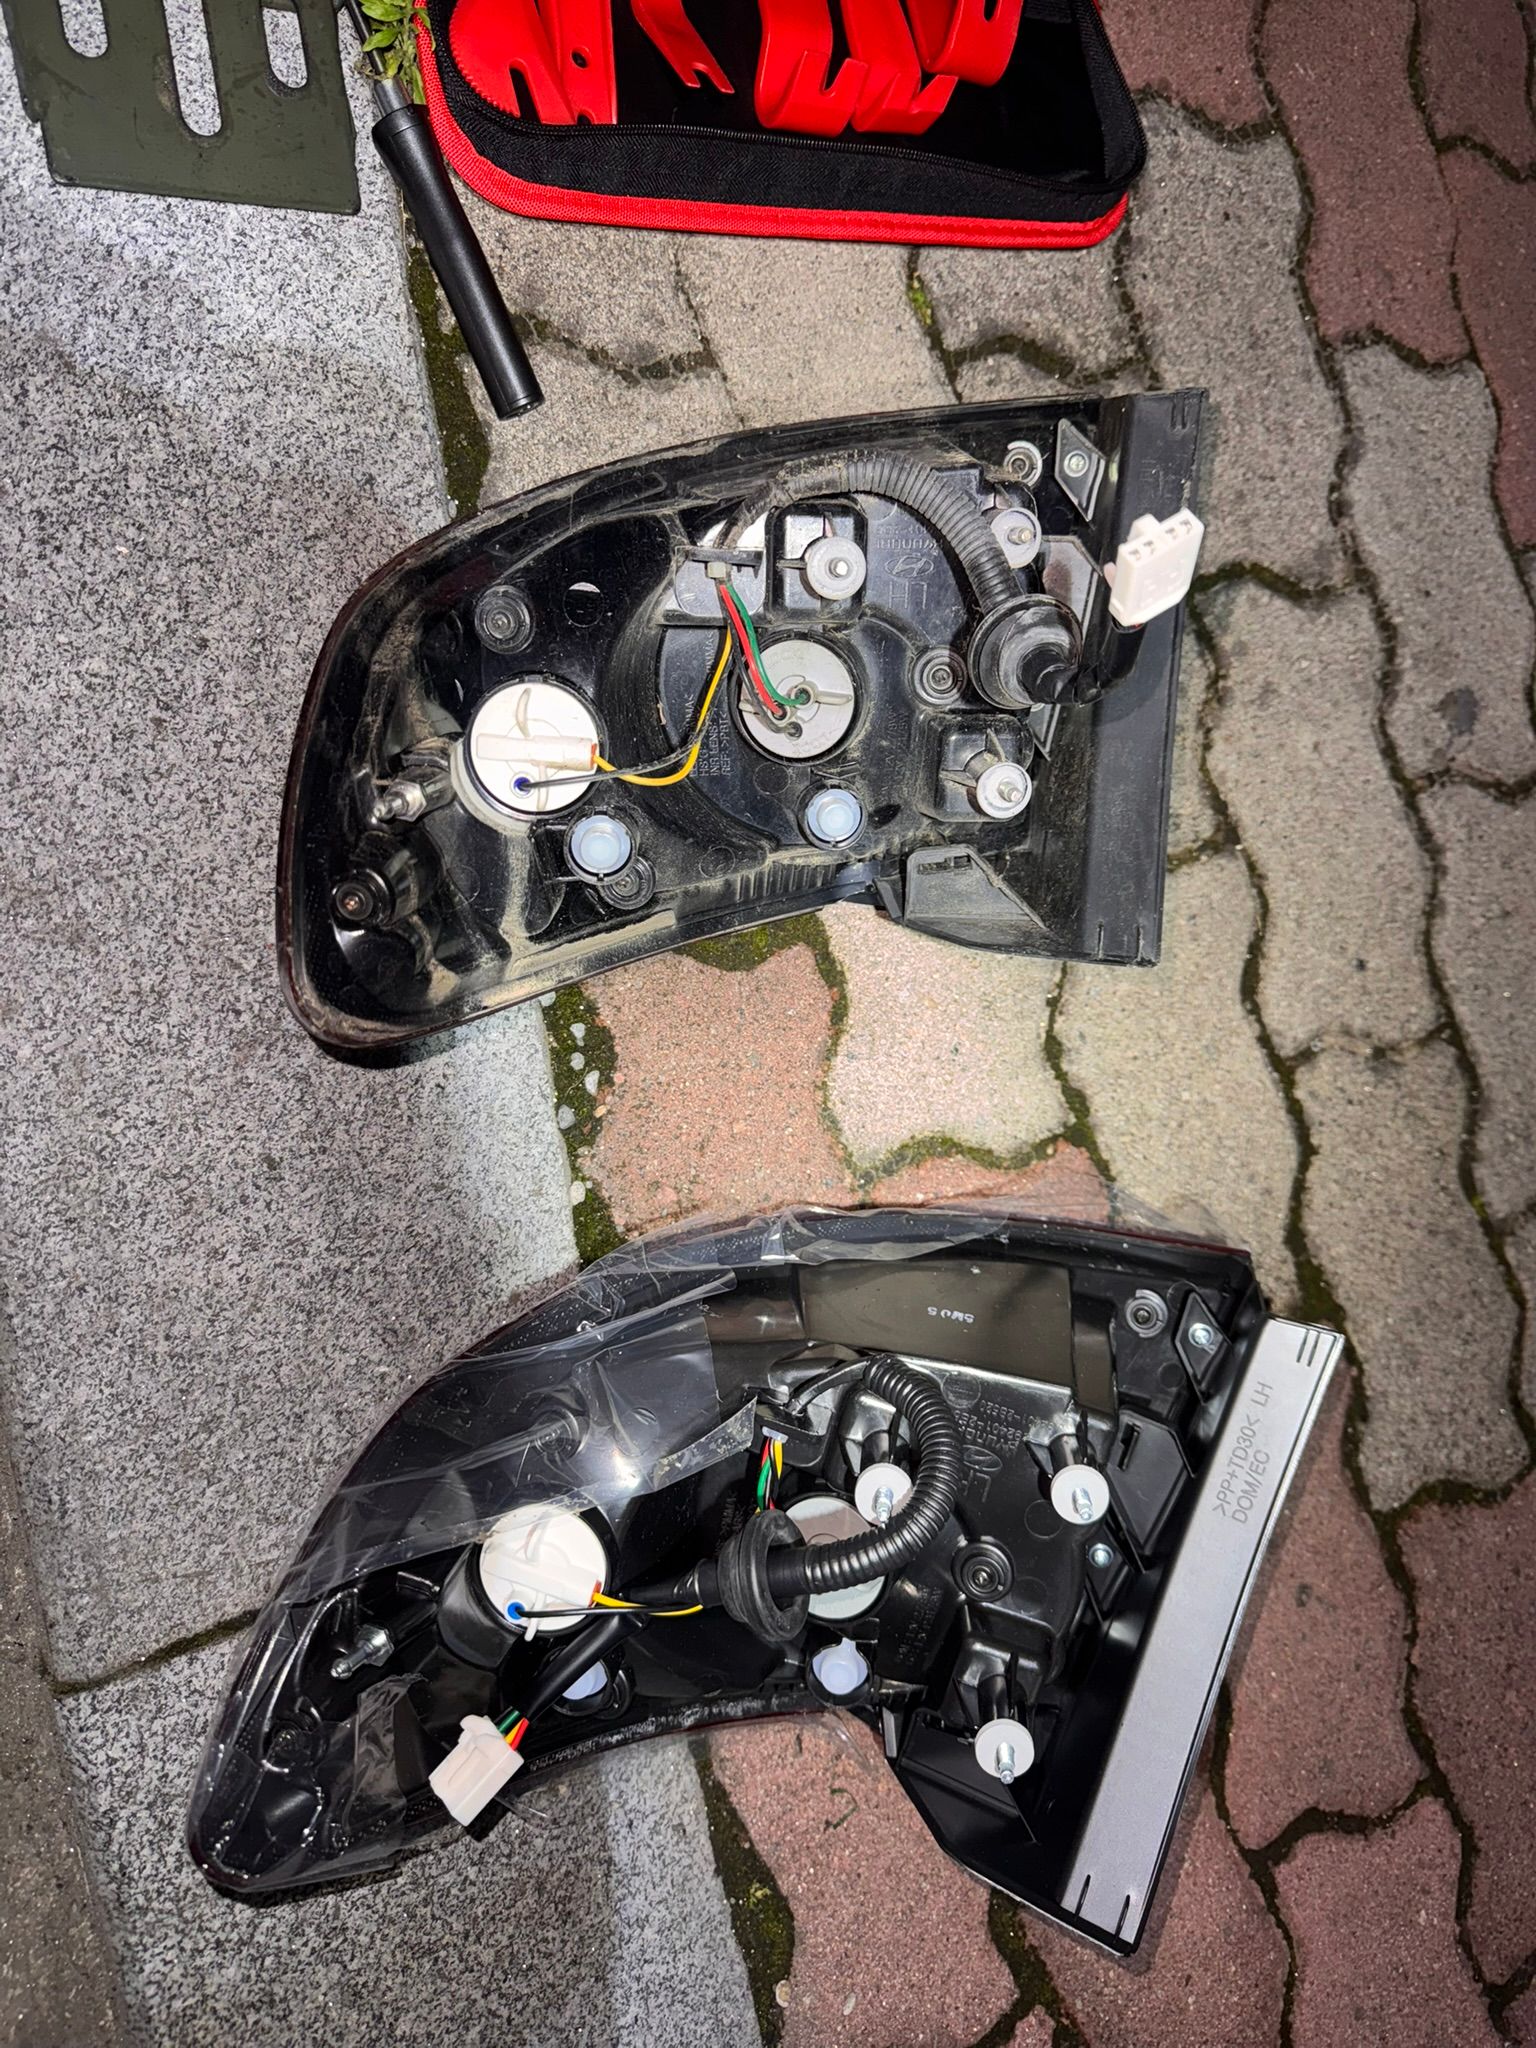
Left: the new part.
Right: the old part I removed.
The old one looks messy because I'd put clear tape over the crack.
The red trim-removal tools on the left are sold on AliExpress for about KRW 5,000, if I remember correctly. The set comes with various automotive trim tools. They aren't particularly durable, but they're handy for the price.
Now, as always, reassembly is the reverse of disassembly, right?
Put everything back together, reconnect the battery, and test the light.
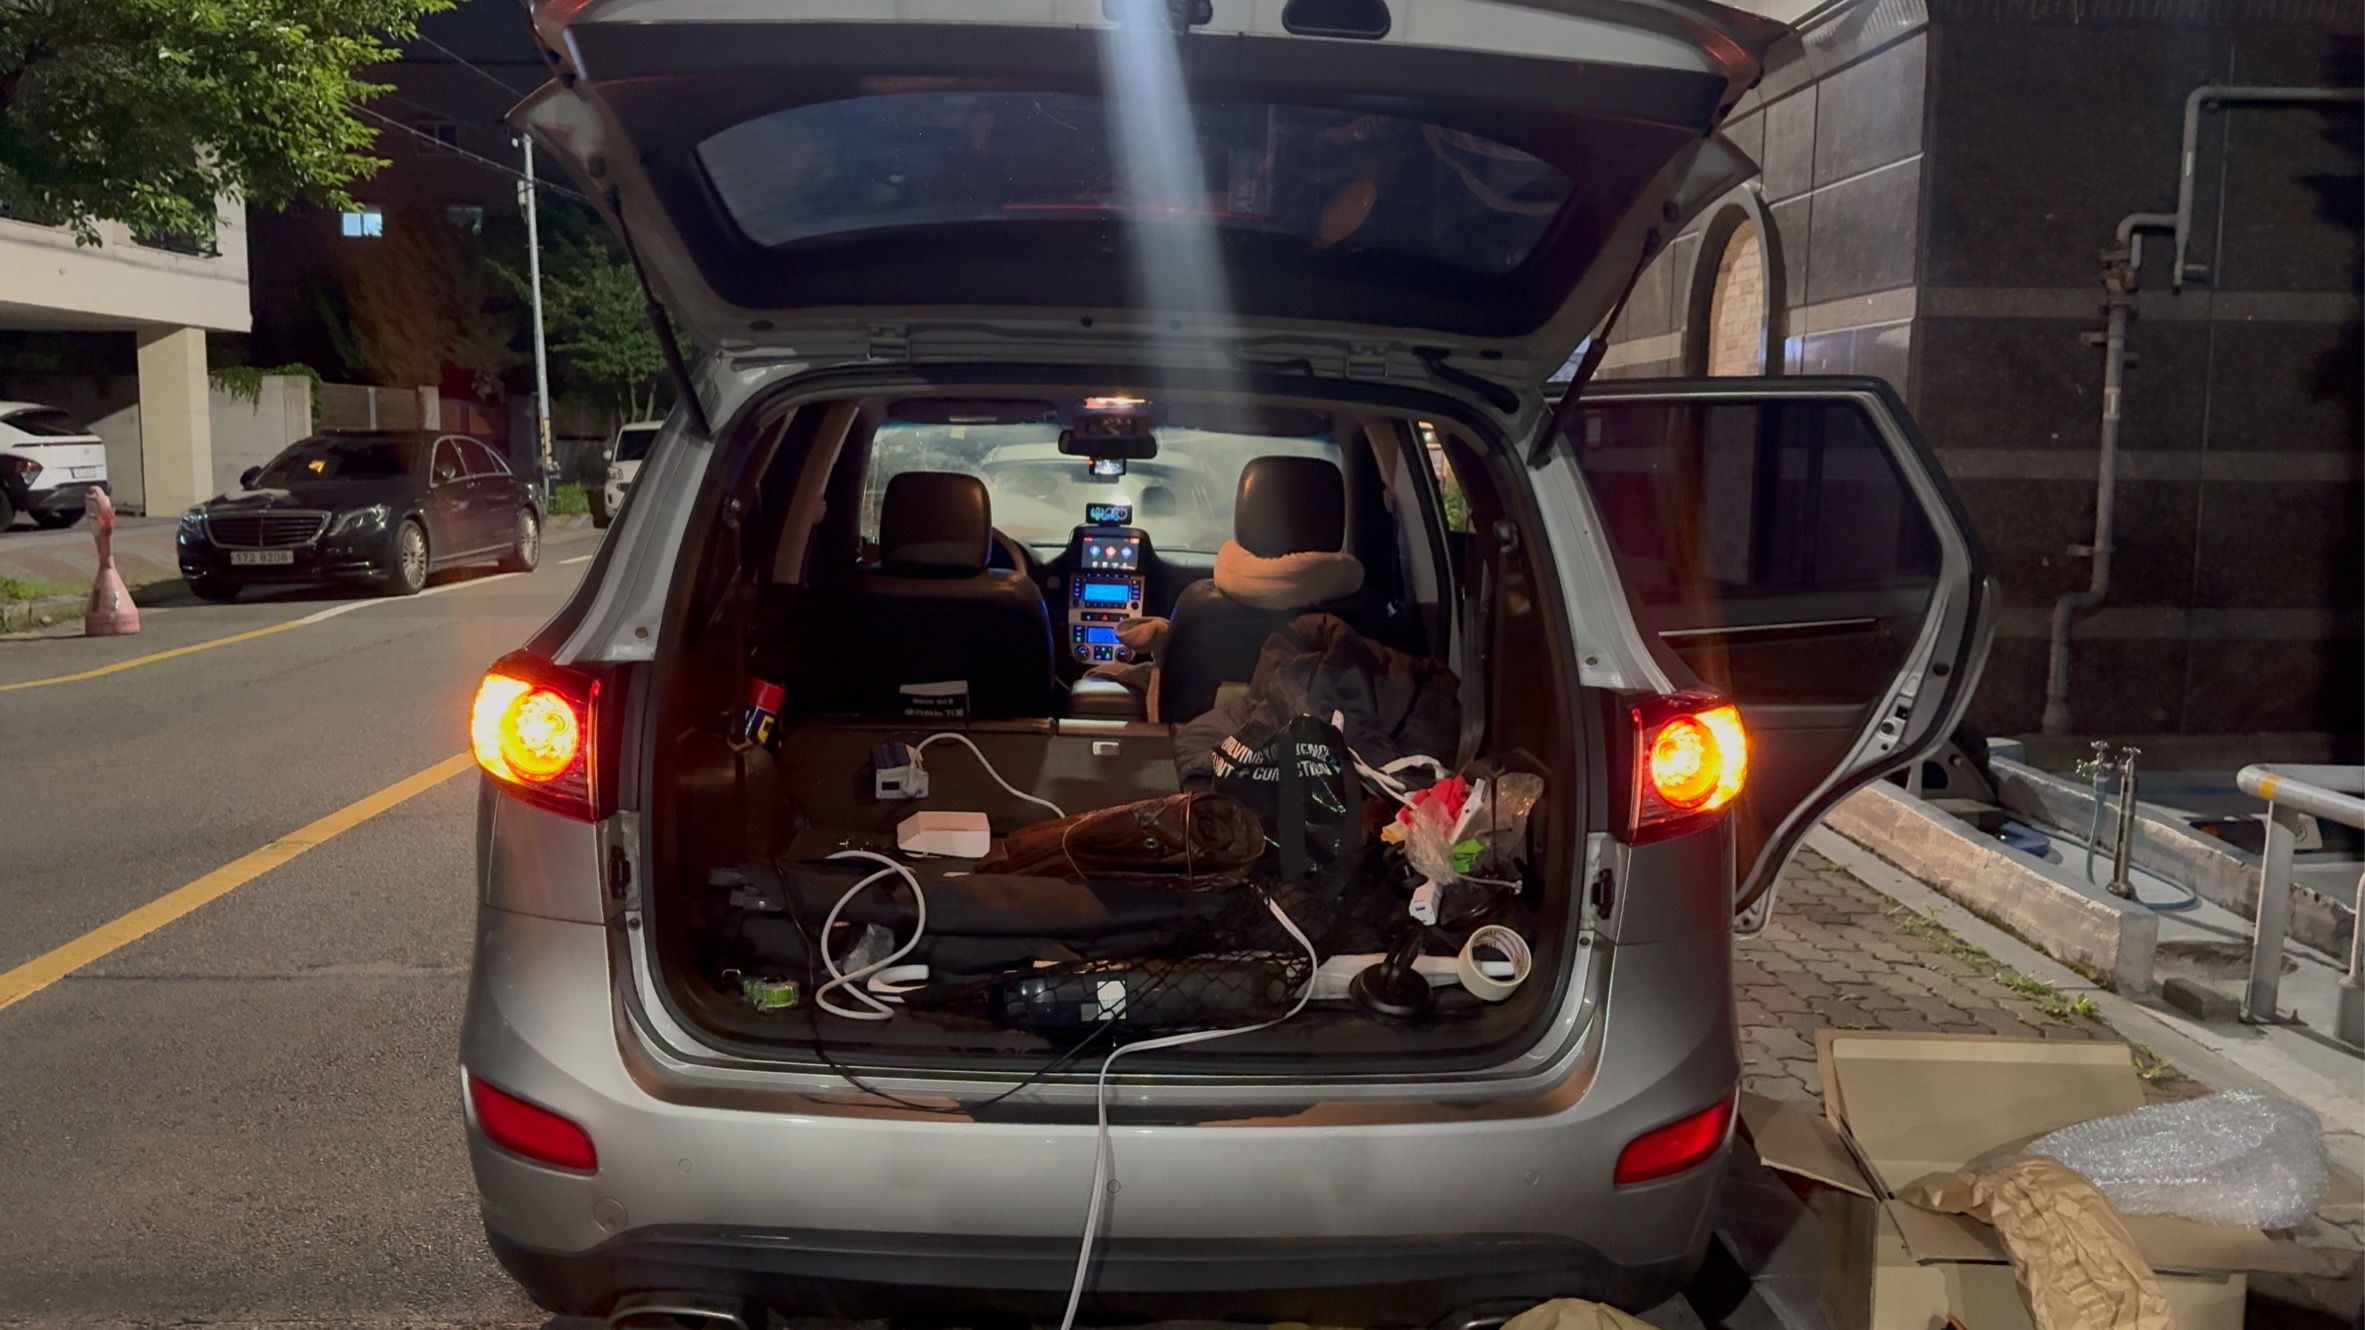
Lights up nicely!
Next... the fuel filter. Again, disconnect the negative battery terminal before starting.
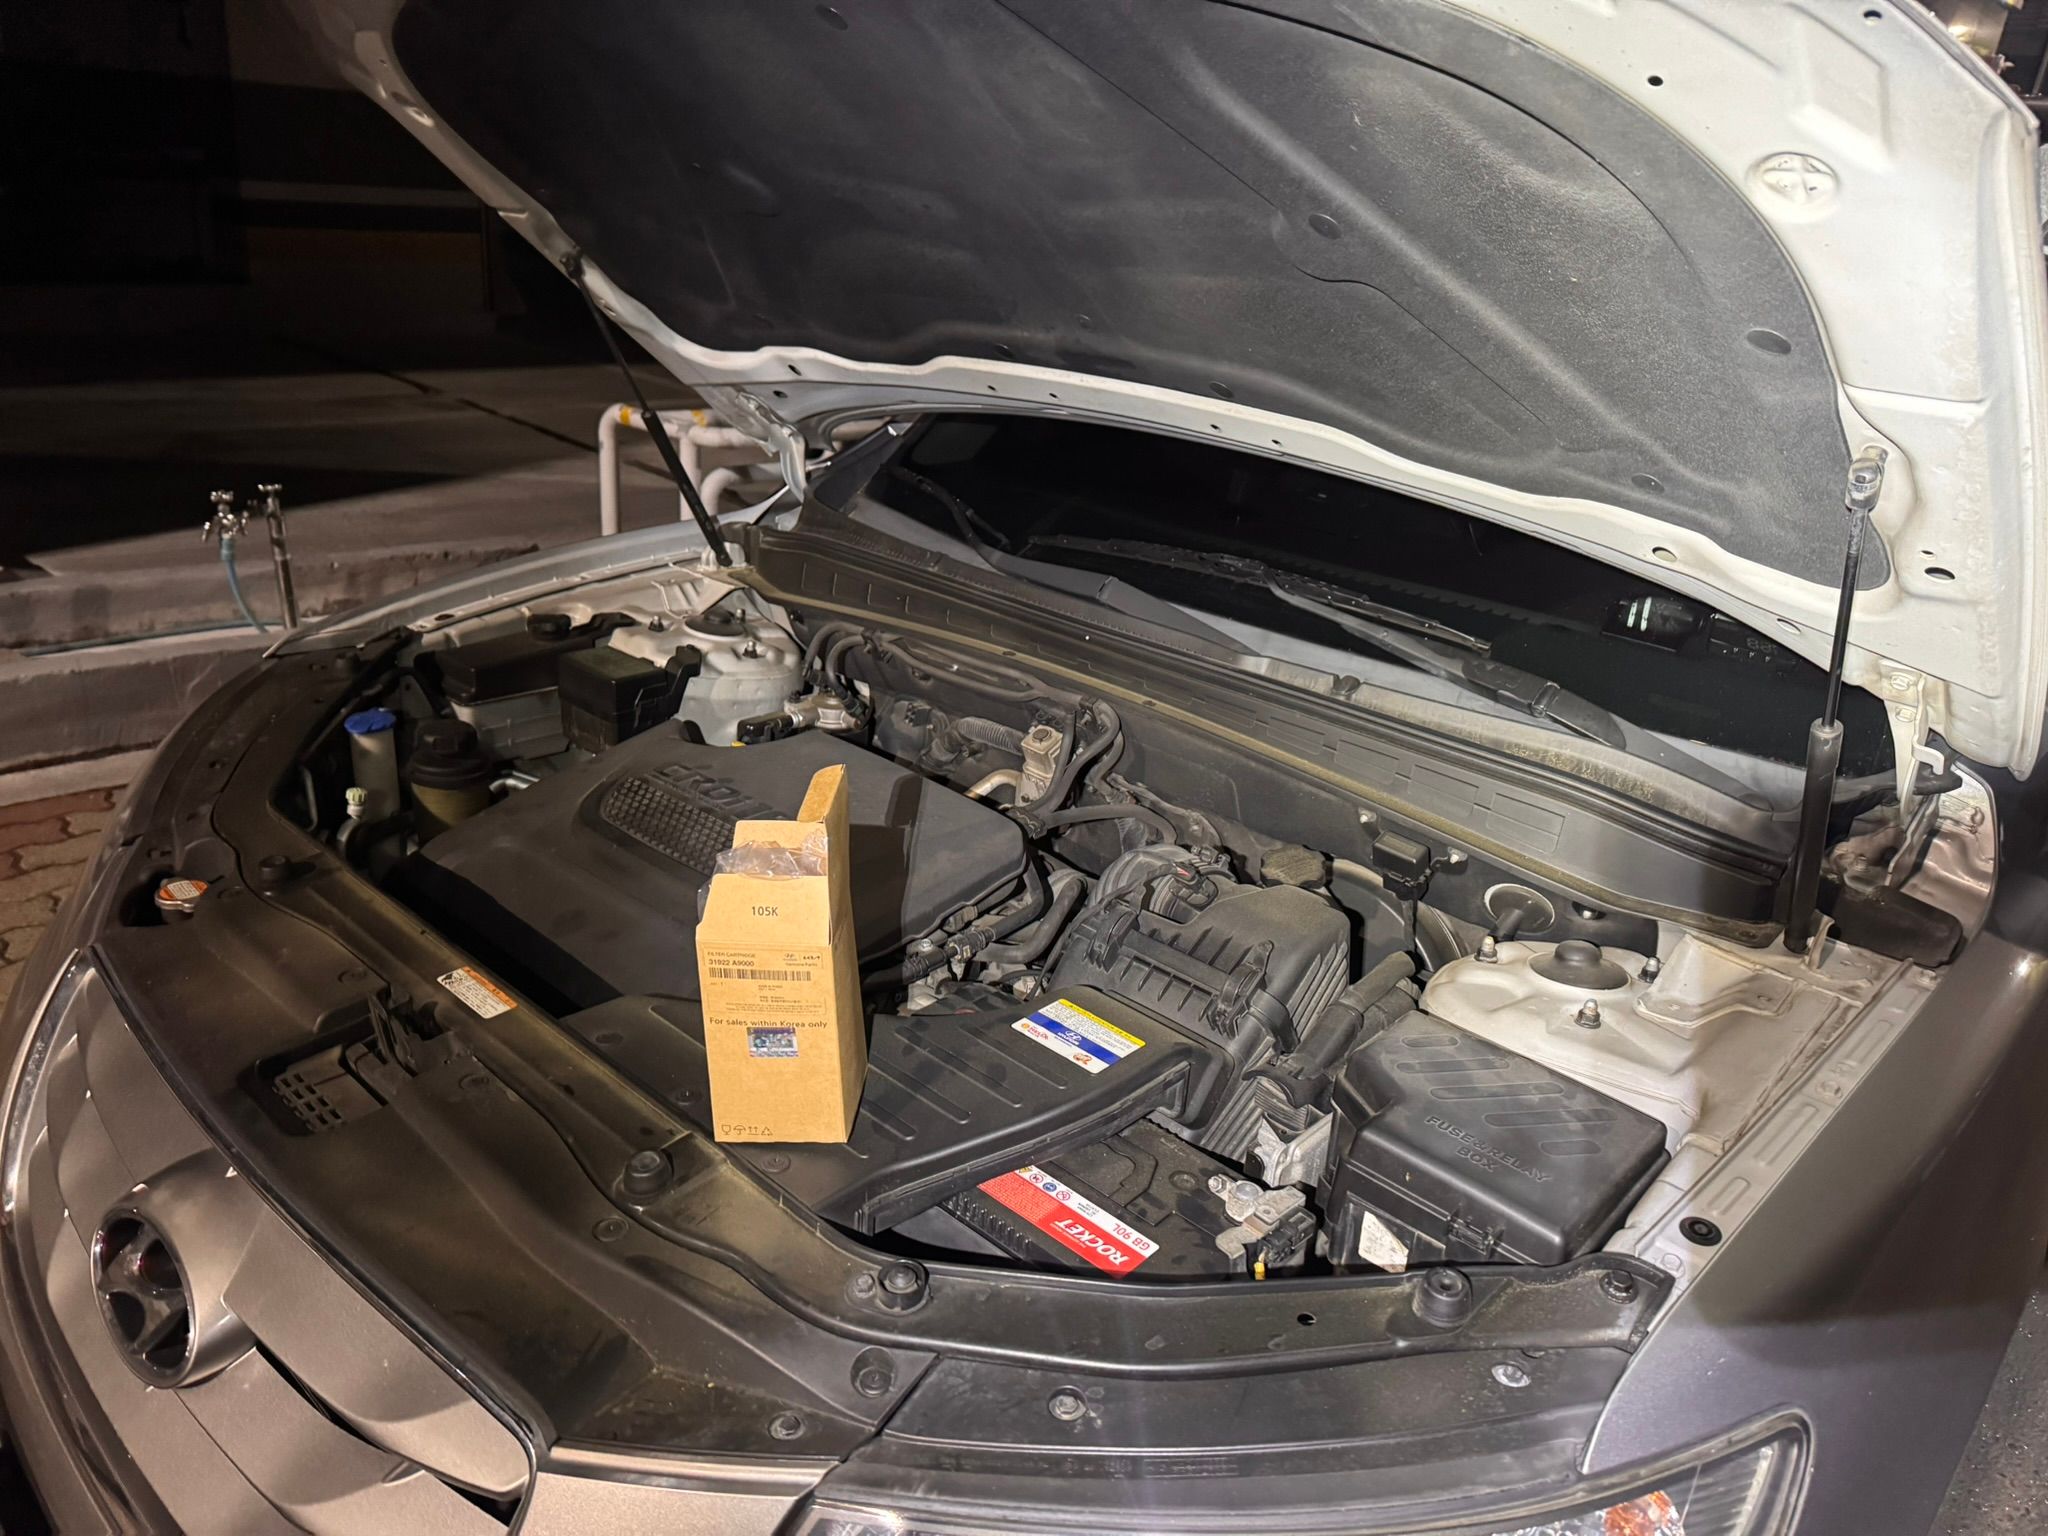
I replaced only the cartridge, but replacing the entire assembly is actually simpler. If that is what you are doing, keep reading too.
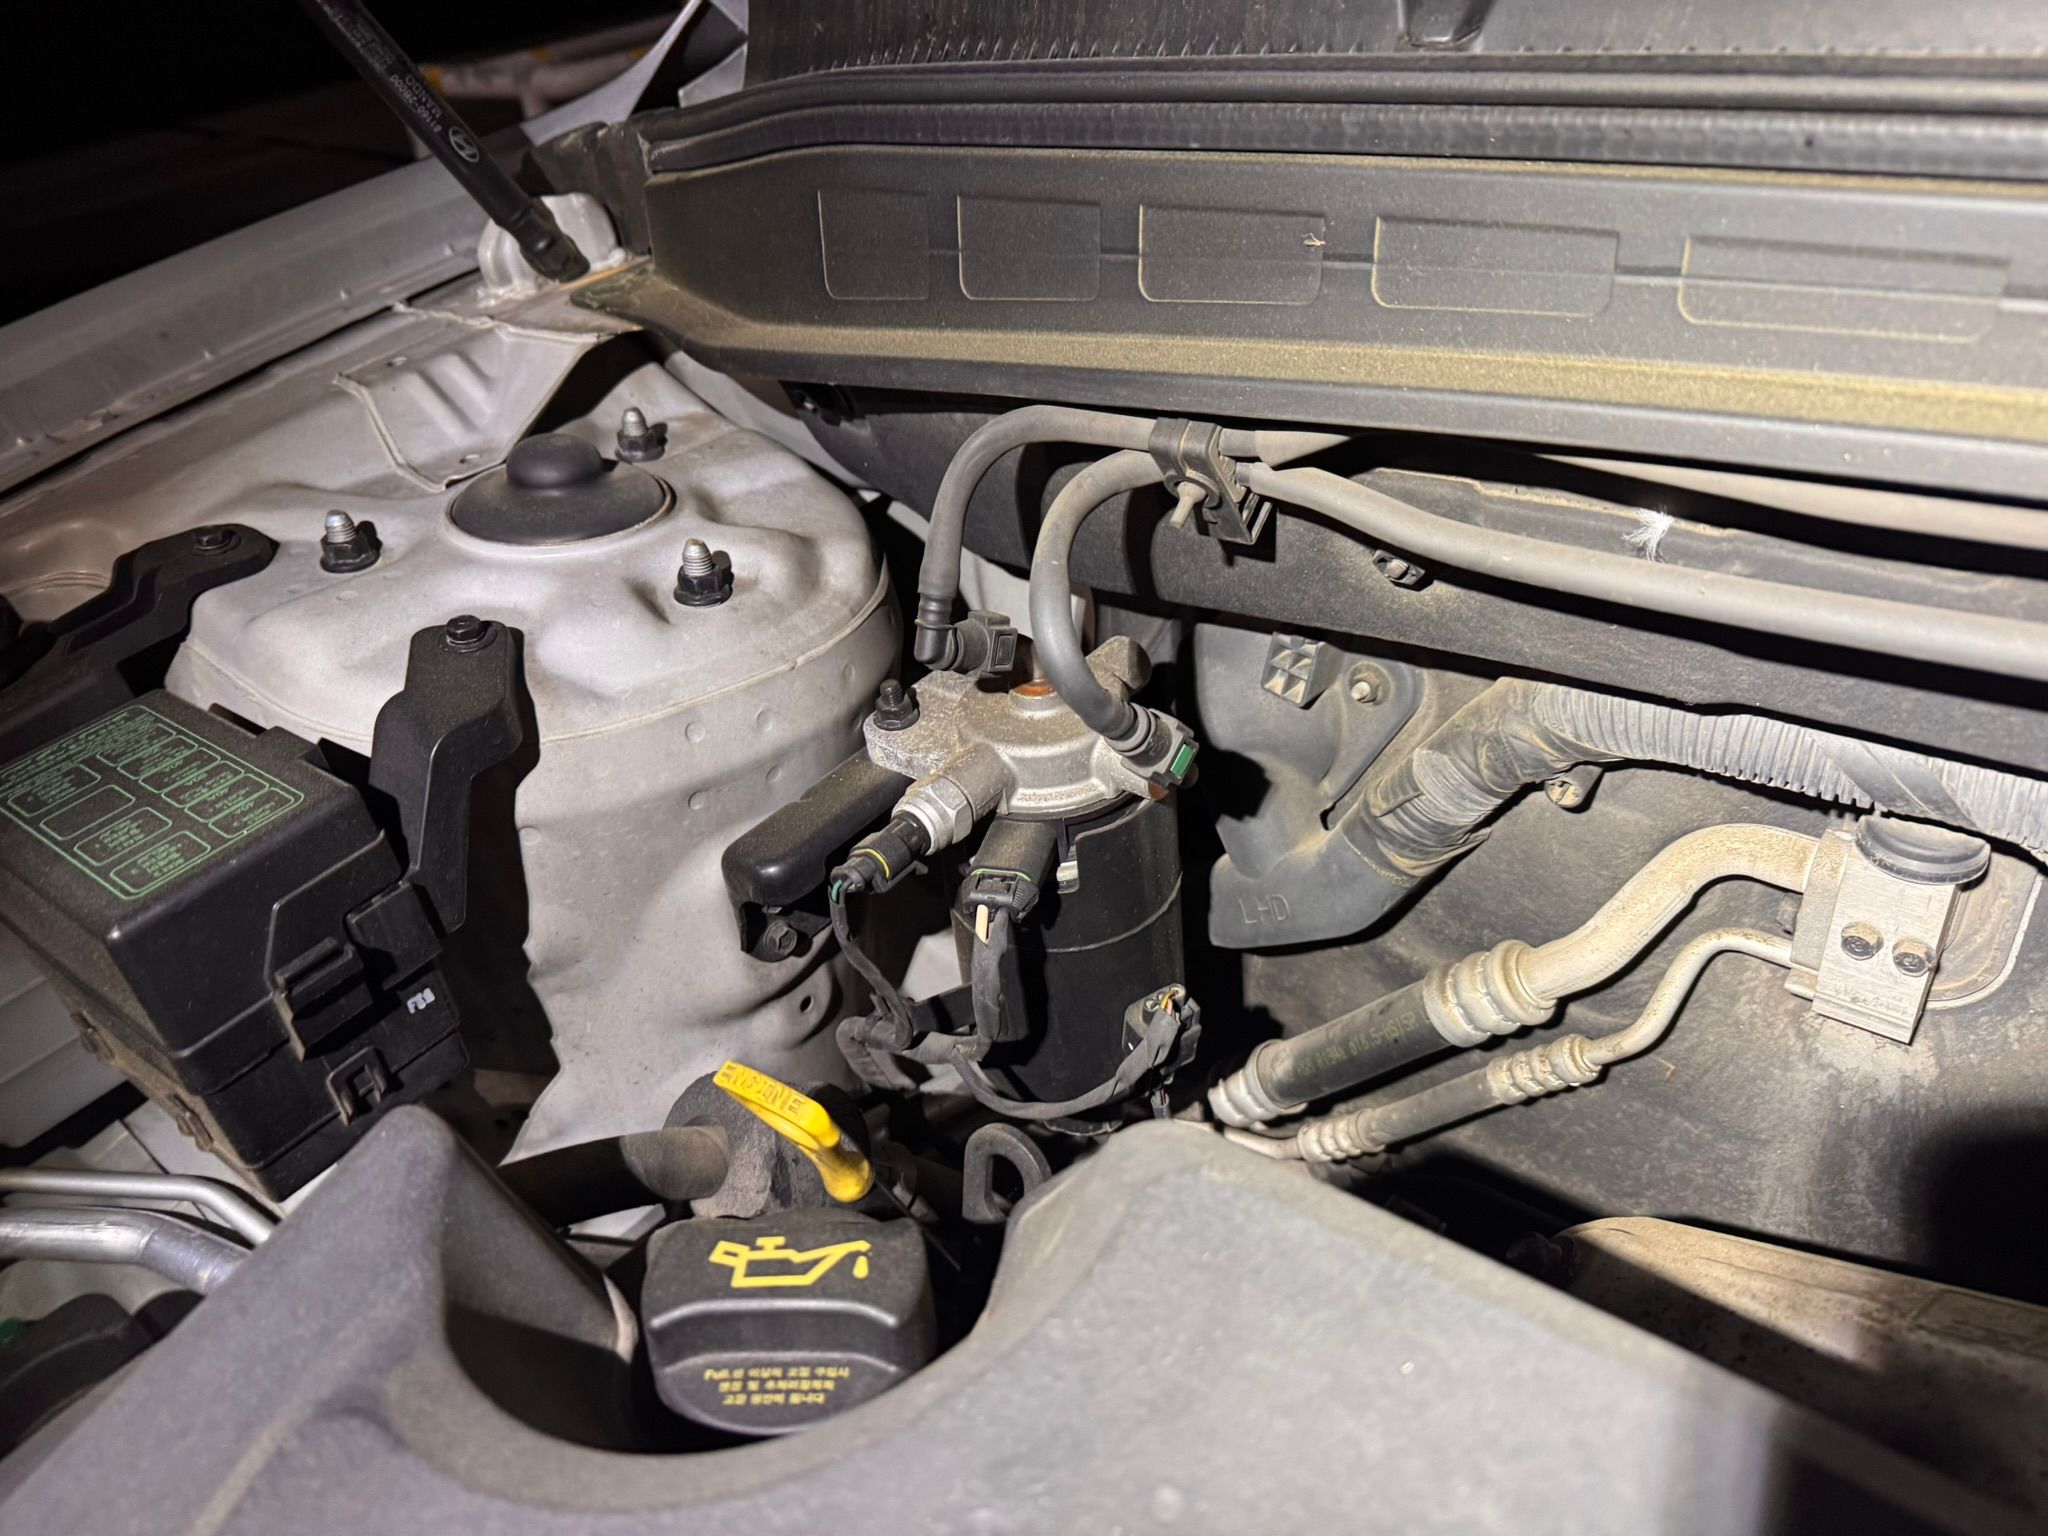
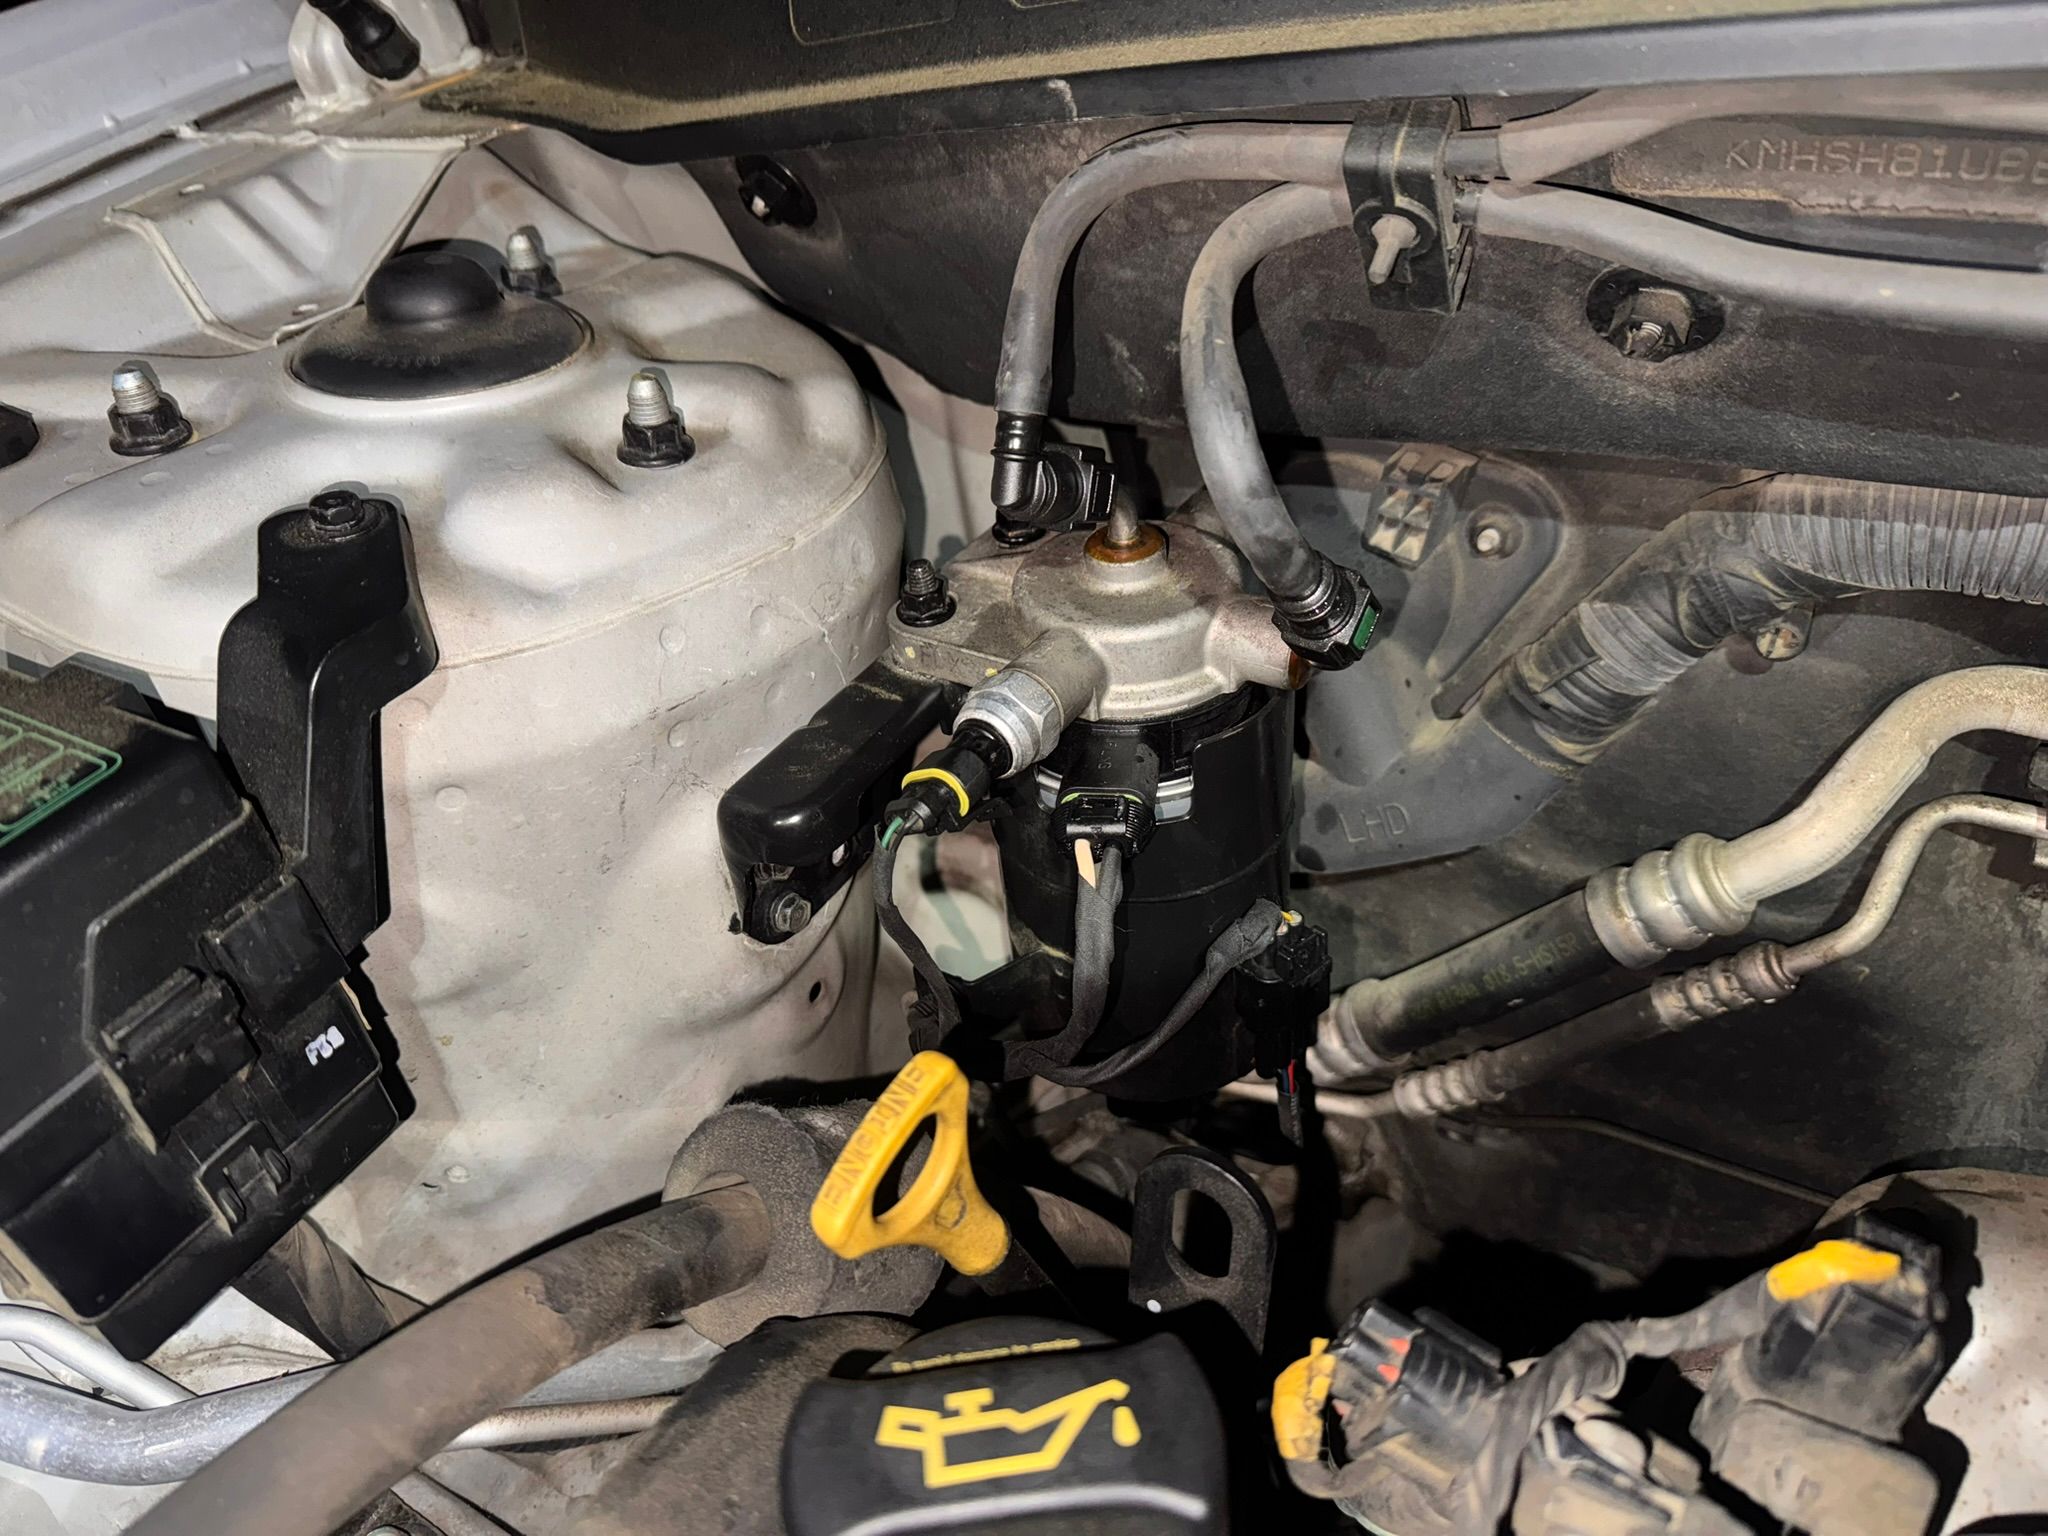
This is the fuel filter. Diesel flows in and out through the two hoses on top.
The three electrical connections below are for things like the water-in-fuel sensor.
I started by disconnecting the three connectors at the front.
Their release latches are all on the side facing away from you, so you have to release those while pulling the connectors off.
The upper two came off fairly easily,
but the water-in-fuel sensor connector on the right was an absolute pain to remove. Ugh.
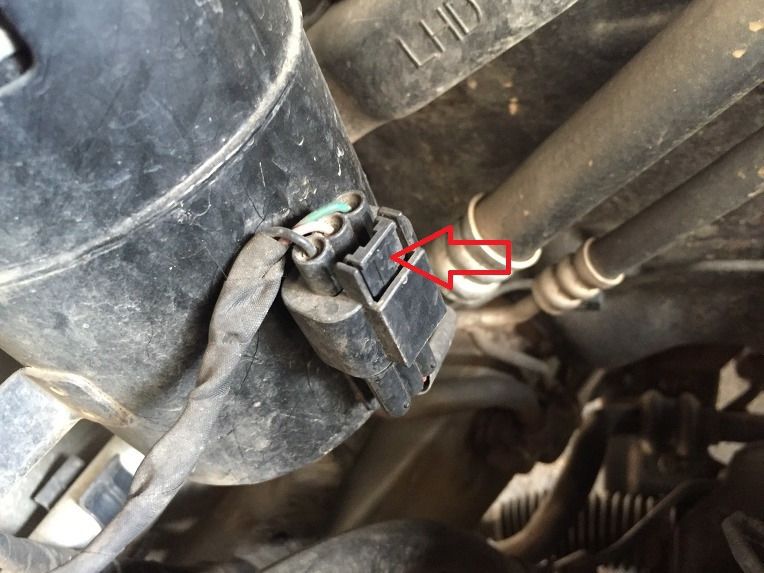
This is a photo I saved from another blogger's post that I was using as a reference during the job. I can't find the original URL anymore...
You have to press that latch firmly while pulling the connector apart. Maybe it had seized up, but I struggled with it for a solid 40 minutes.
It turned out that the connector wasn't permanently fixed to the holder on the filter body—it slides in and out. Pulling the whole connector upward releases it from the holder. That made it much easier to get a good grip, and I could finally separate the two halves.
After that, disconnect the two fuel hoses on top. Squeeze both sides of each connector to release it.
Some diesel will spill out when you do. I wasn't too worried about a little getting on the engine bay or elsewhere.
If that bothers you, catch some in a paper cup or something similar. You'll need a tiny amount of diesel later.
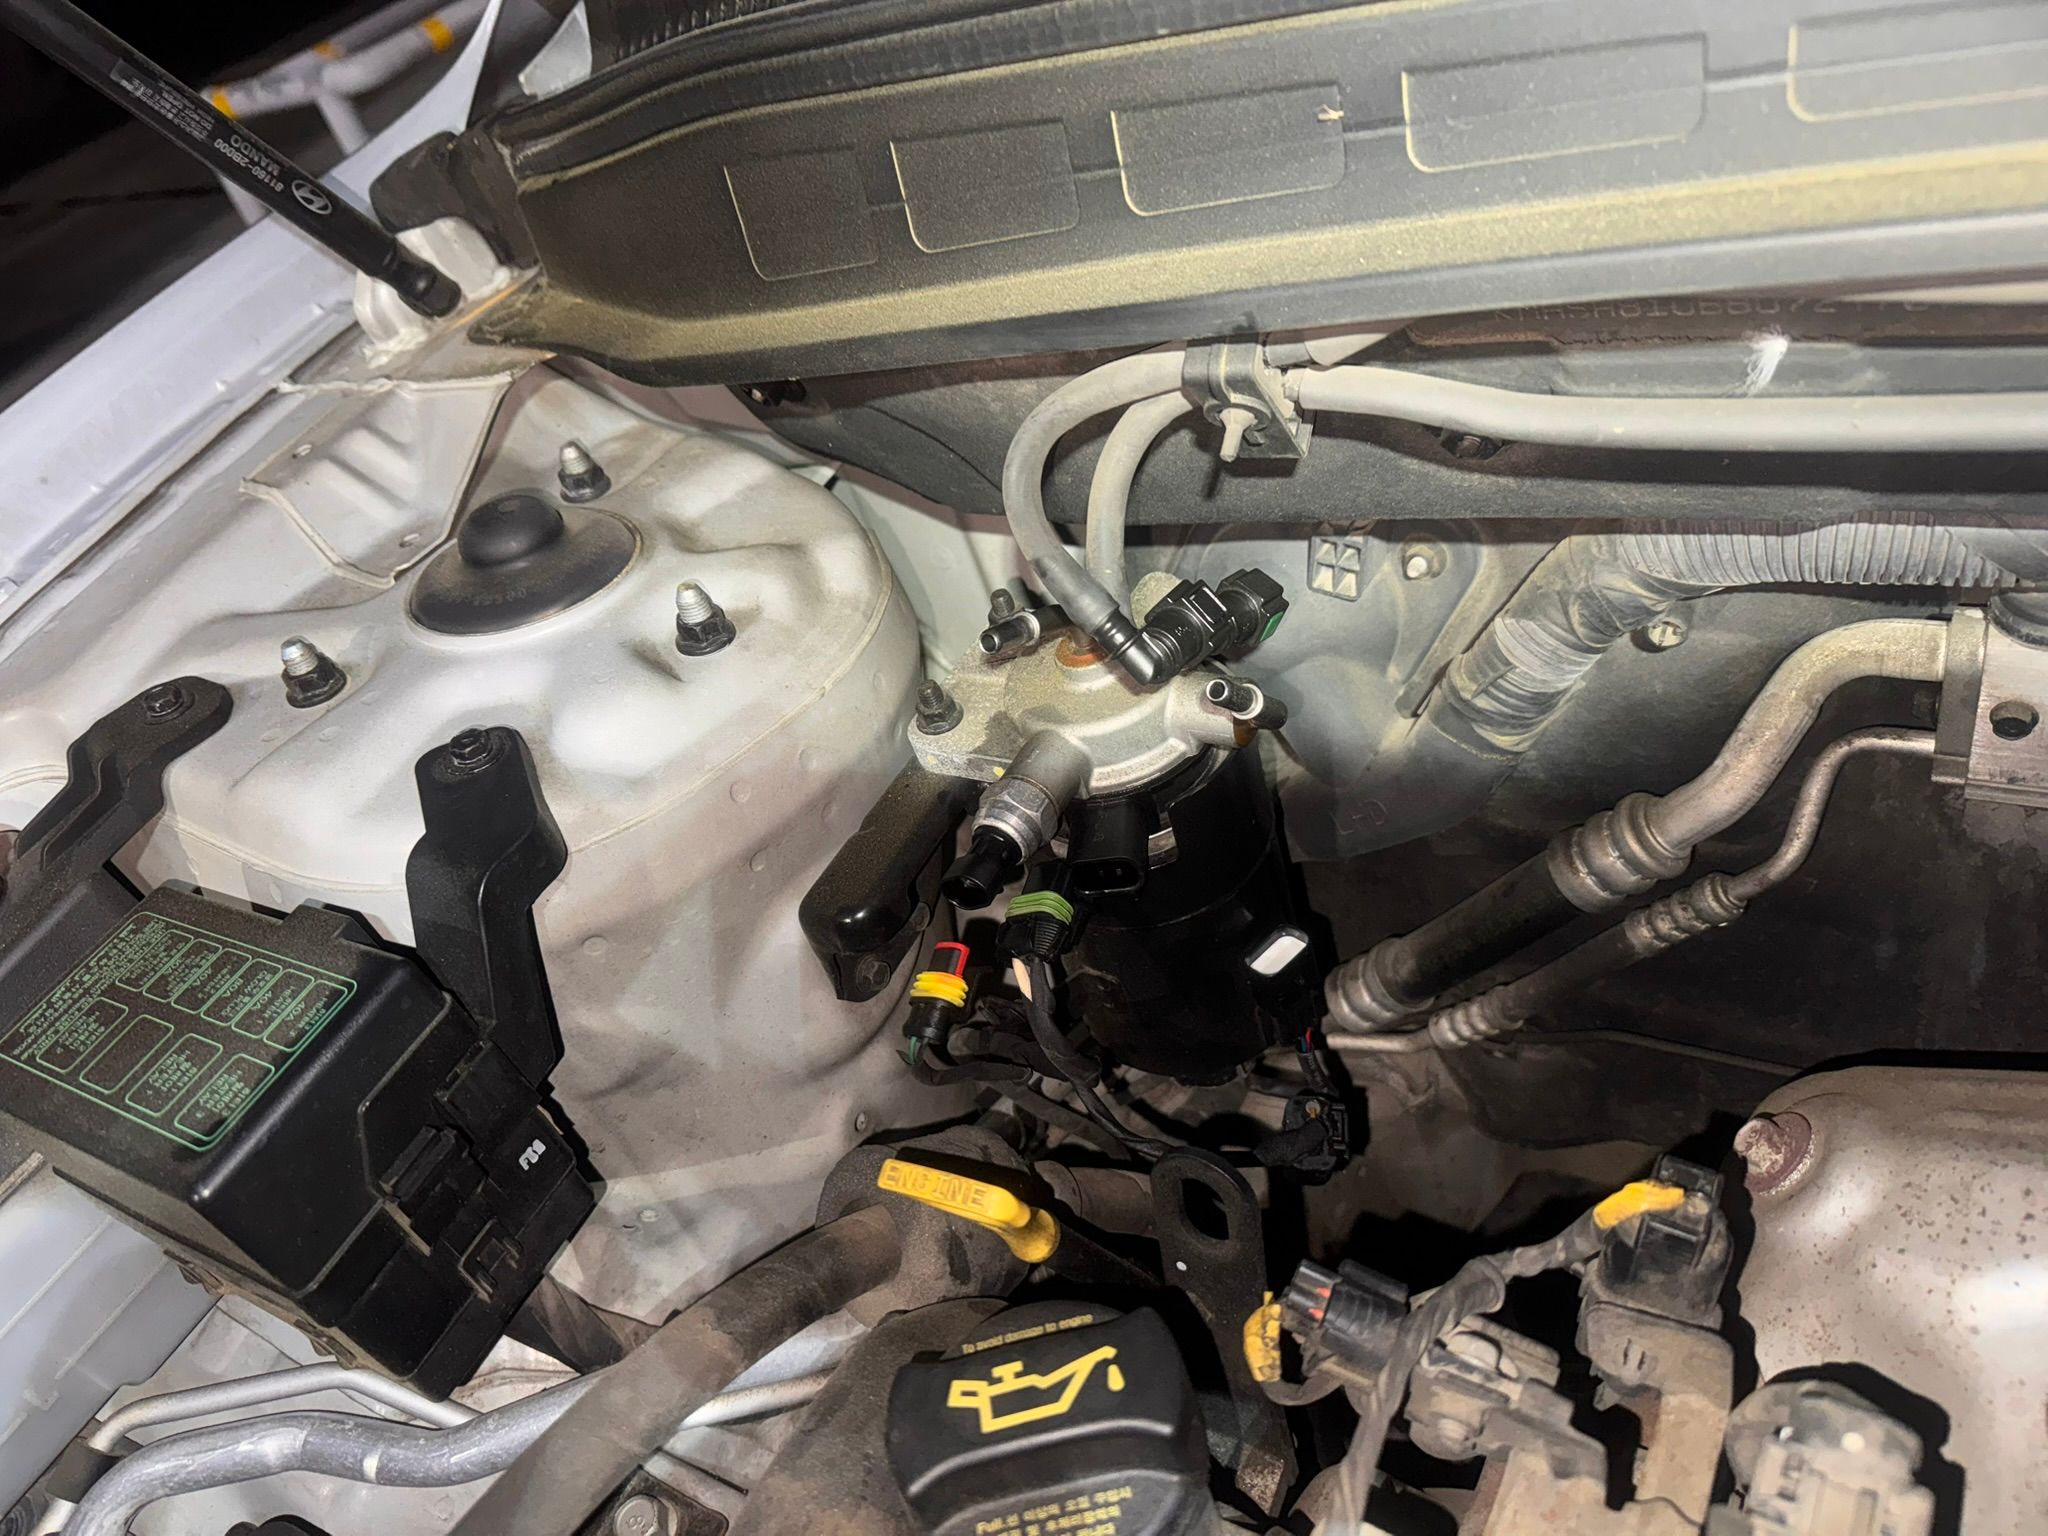
Here it is with everything disconnected. Between the spilled diesel and all my fumbling with the connectors, the filter ended up looking shiny.
Next, remove the two fasteners at the upper left of the filter and the four securing the lower bracket to the black section of the engine bay. The whole assembly can then come out.
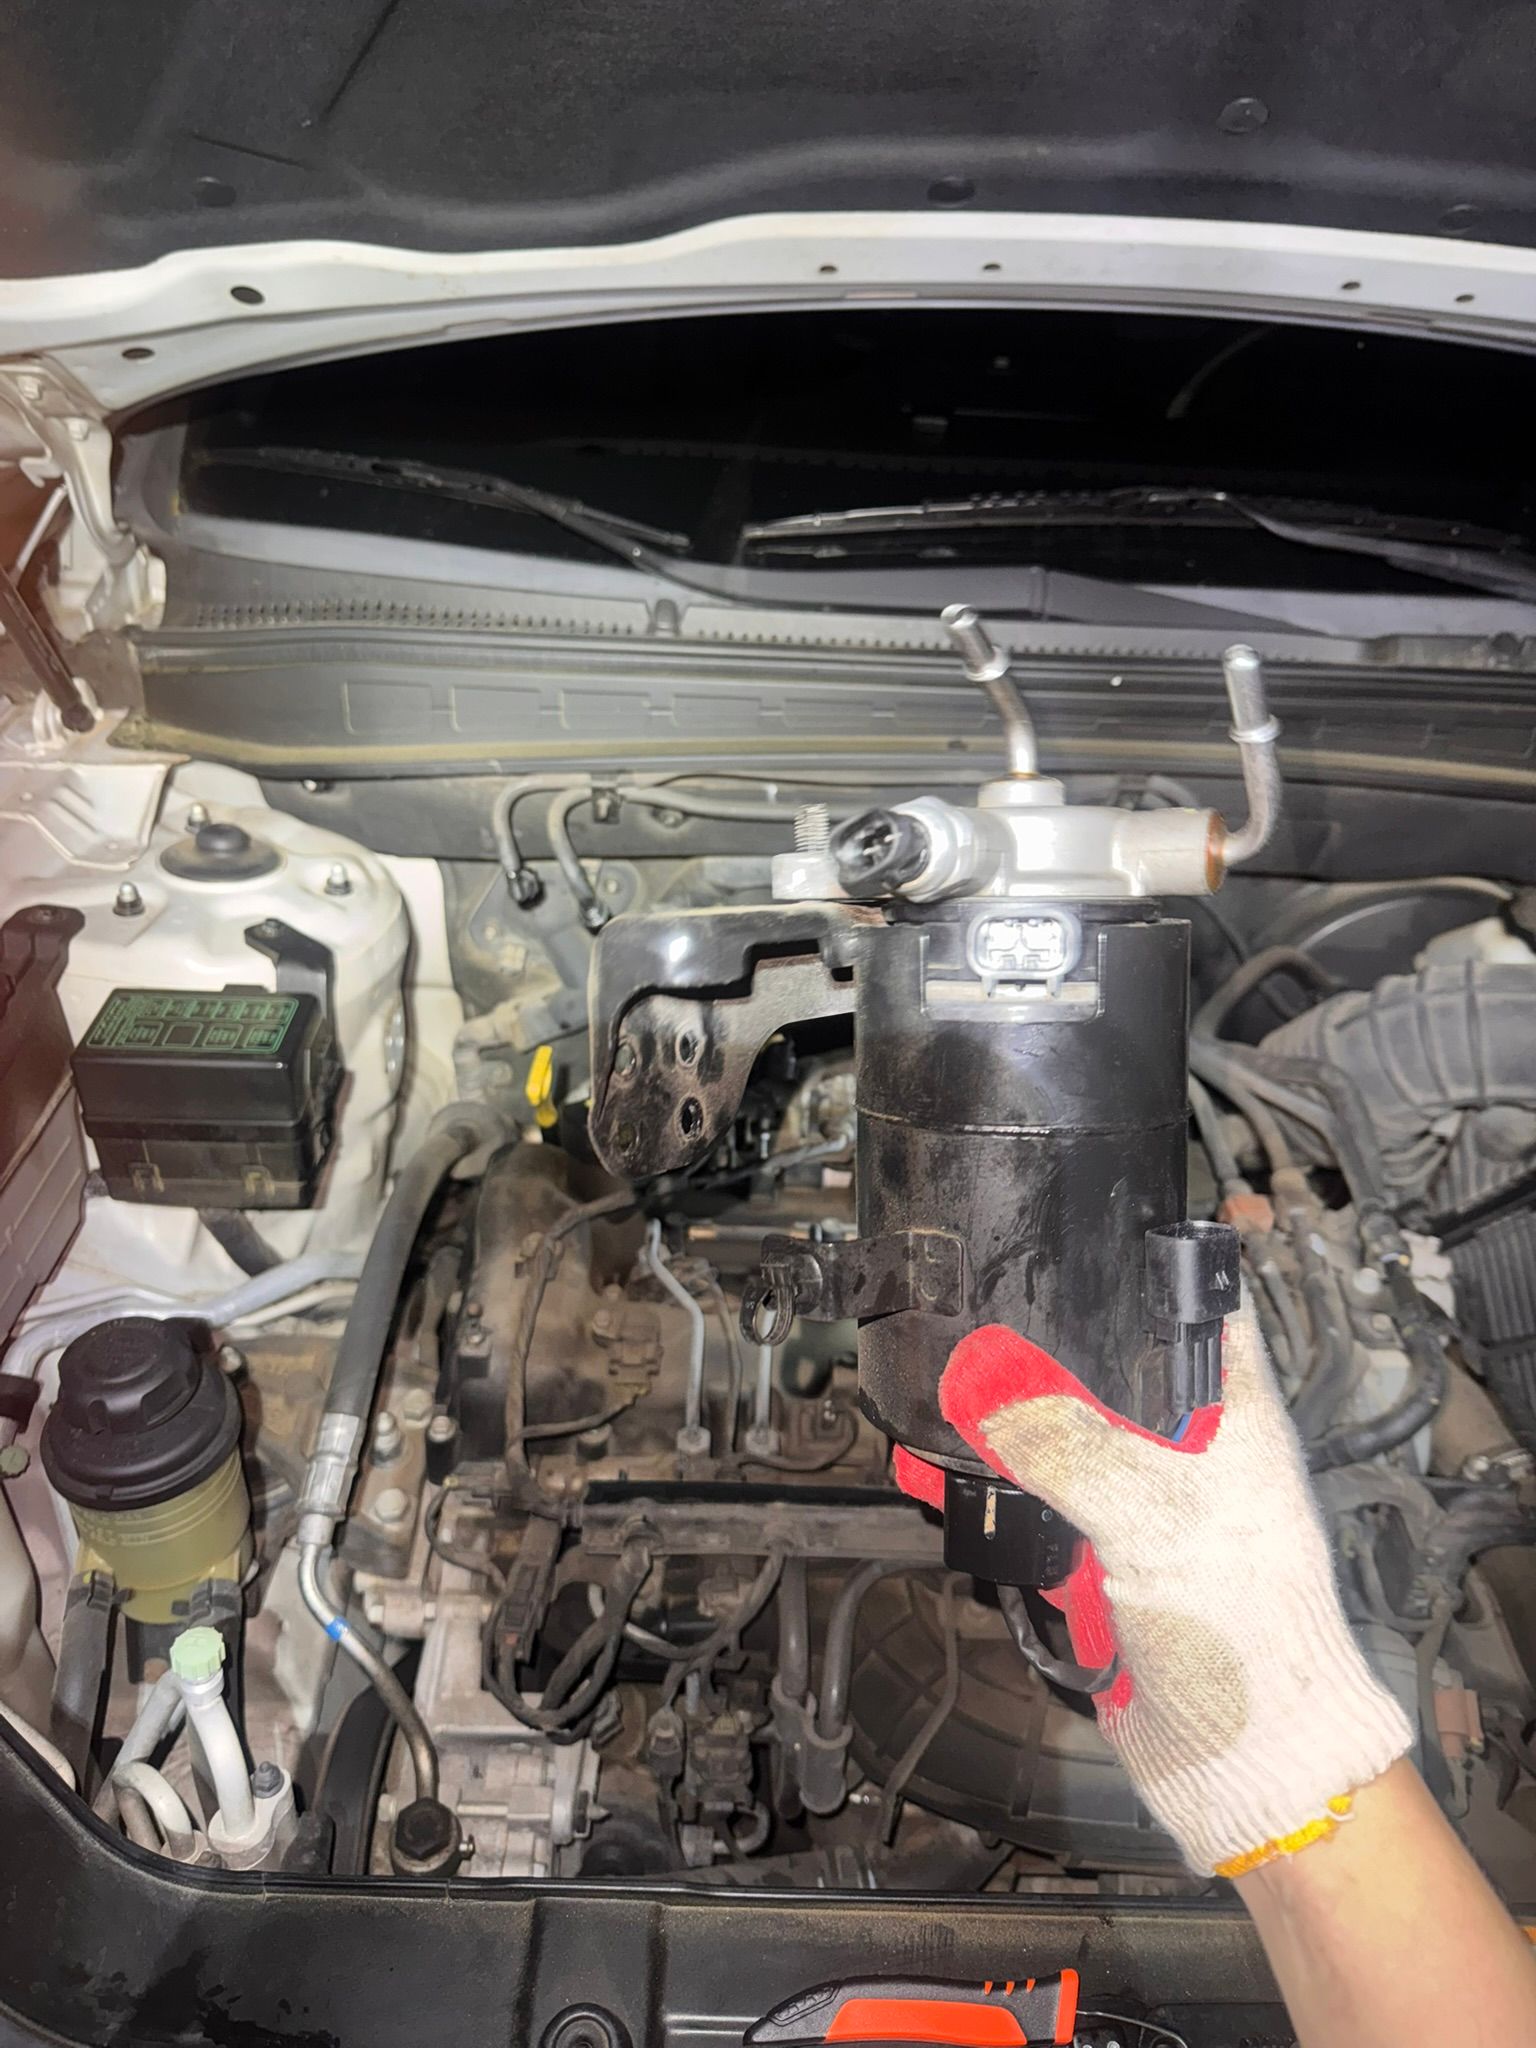
Like this.
Looking back, I think I could have removed the two upper fasteners, loosened only some of the bracket fasteners, and wiggled the filter out without taking off the entire four-fastener bracket.
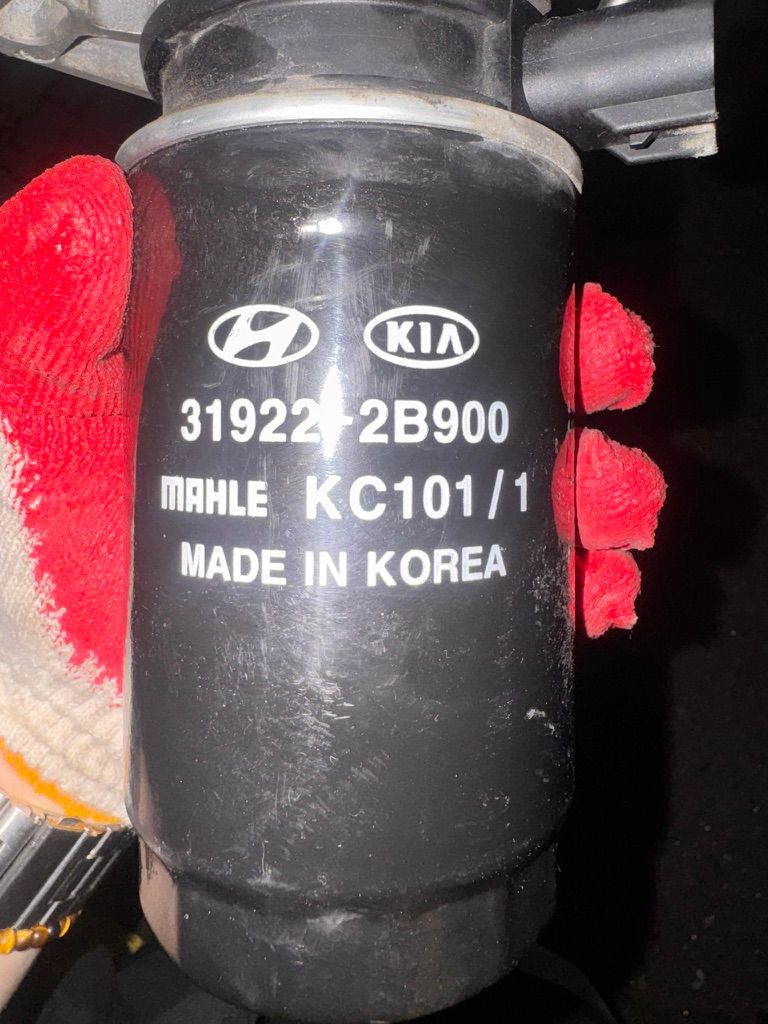
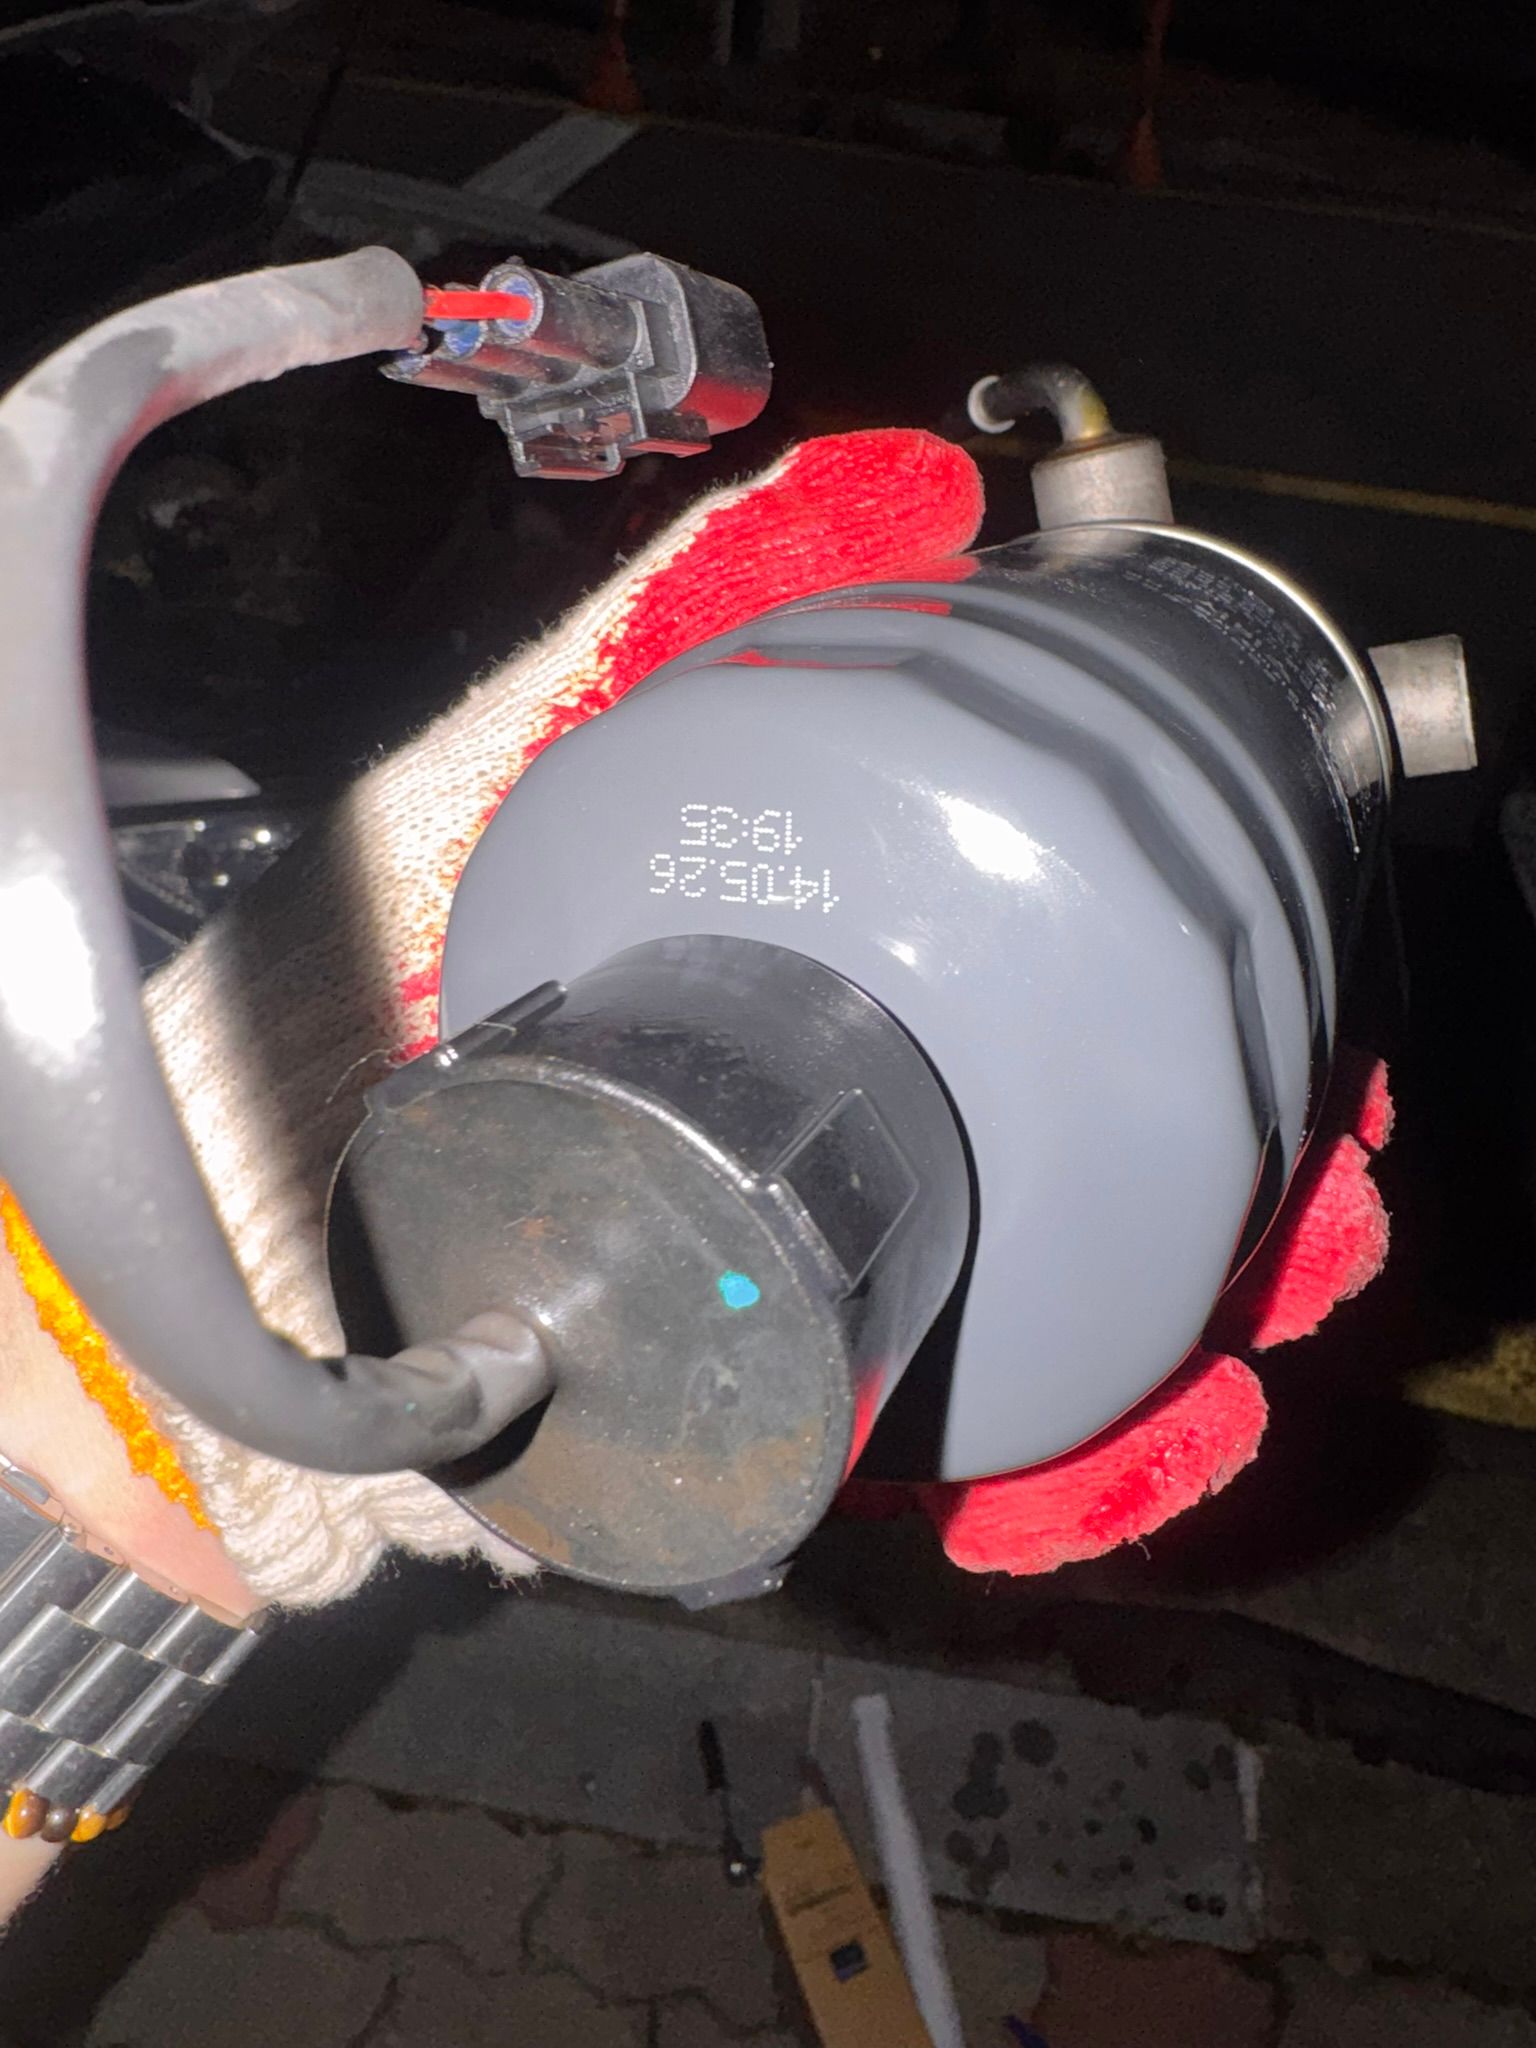
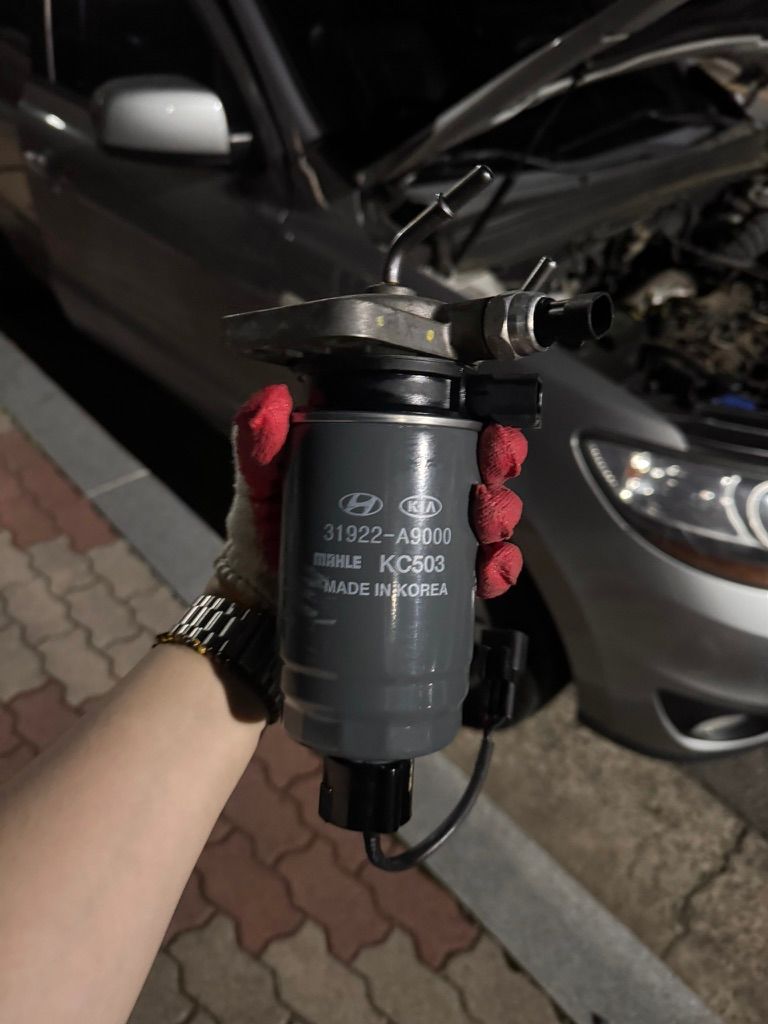
This is the fuel filter cartridge that was already installed. There's one thing about it that I still don't understand.
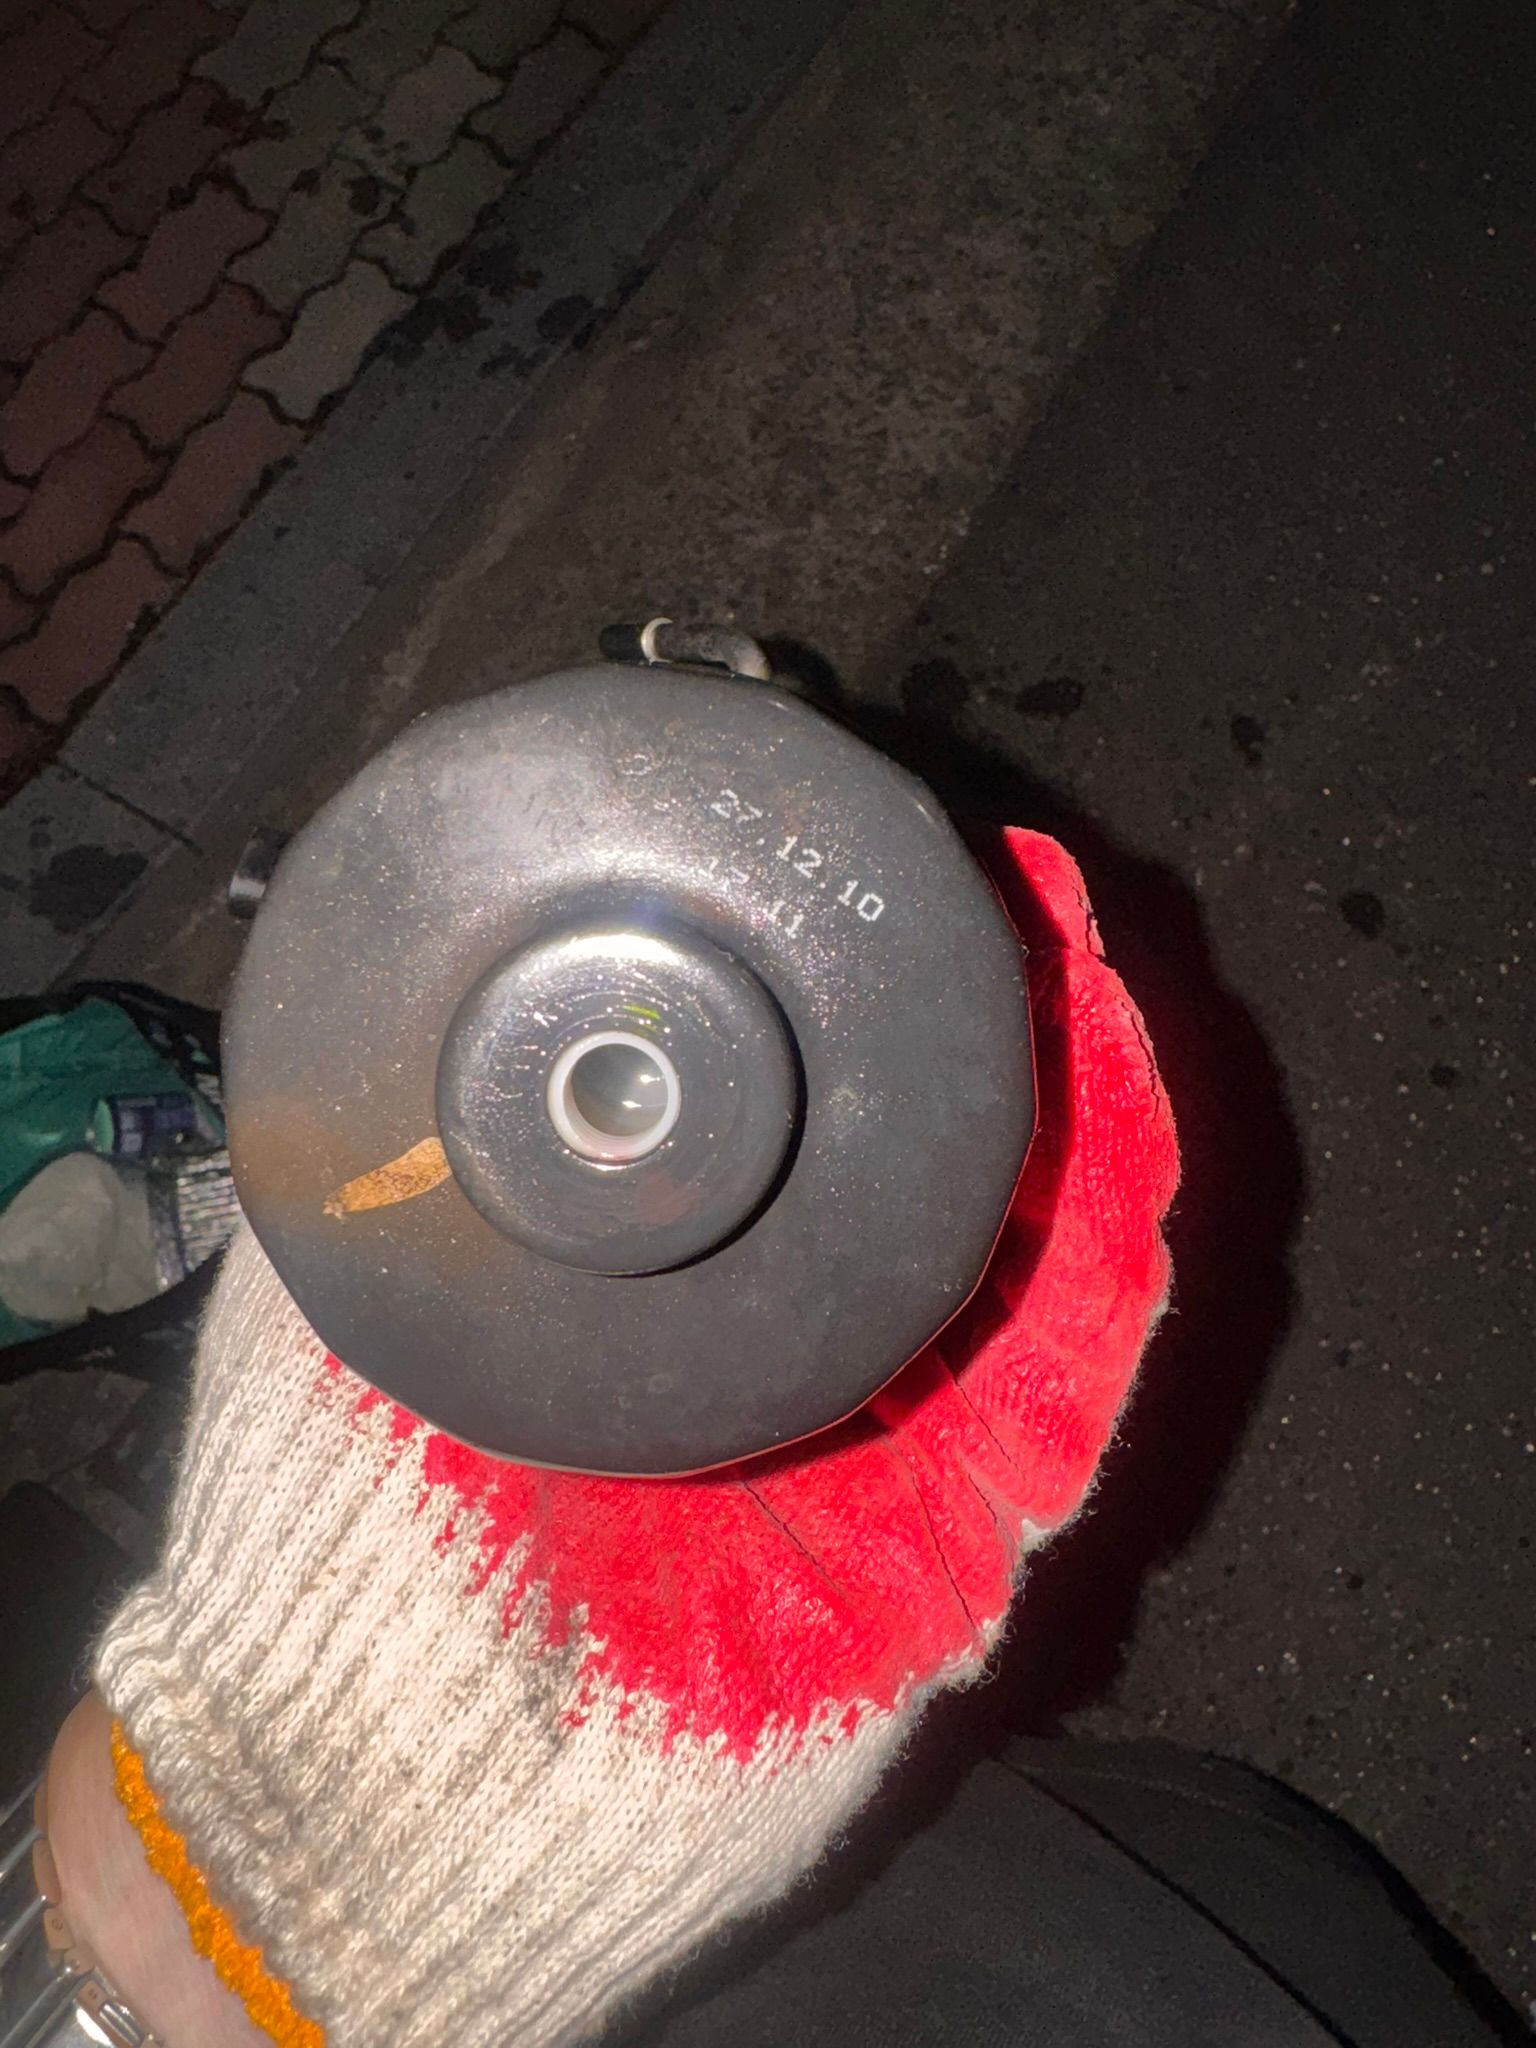
The manufacturing date seems to say December 2027...?
Did it come from the future? I started wondering whether it was a manufacturing date at all, but then...
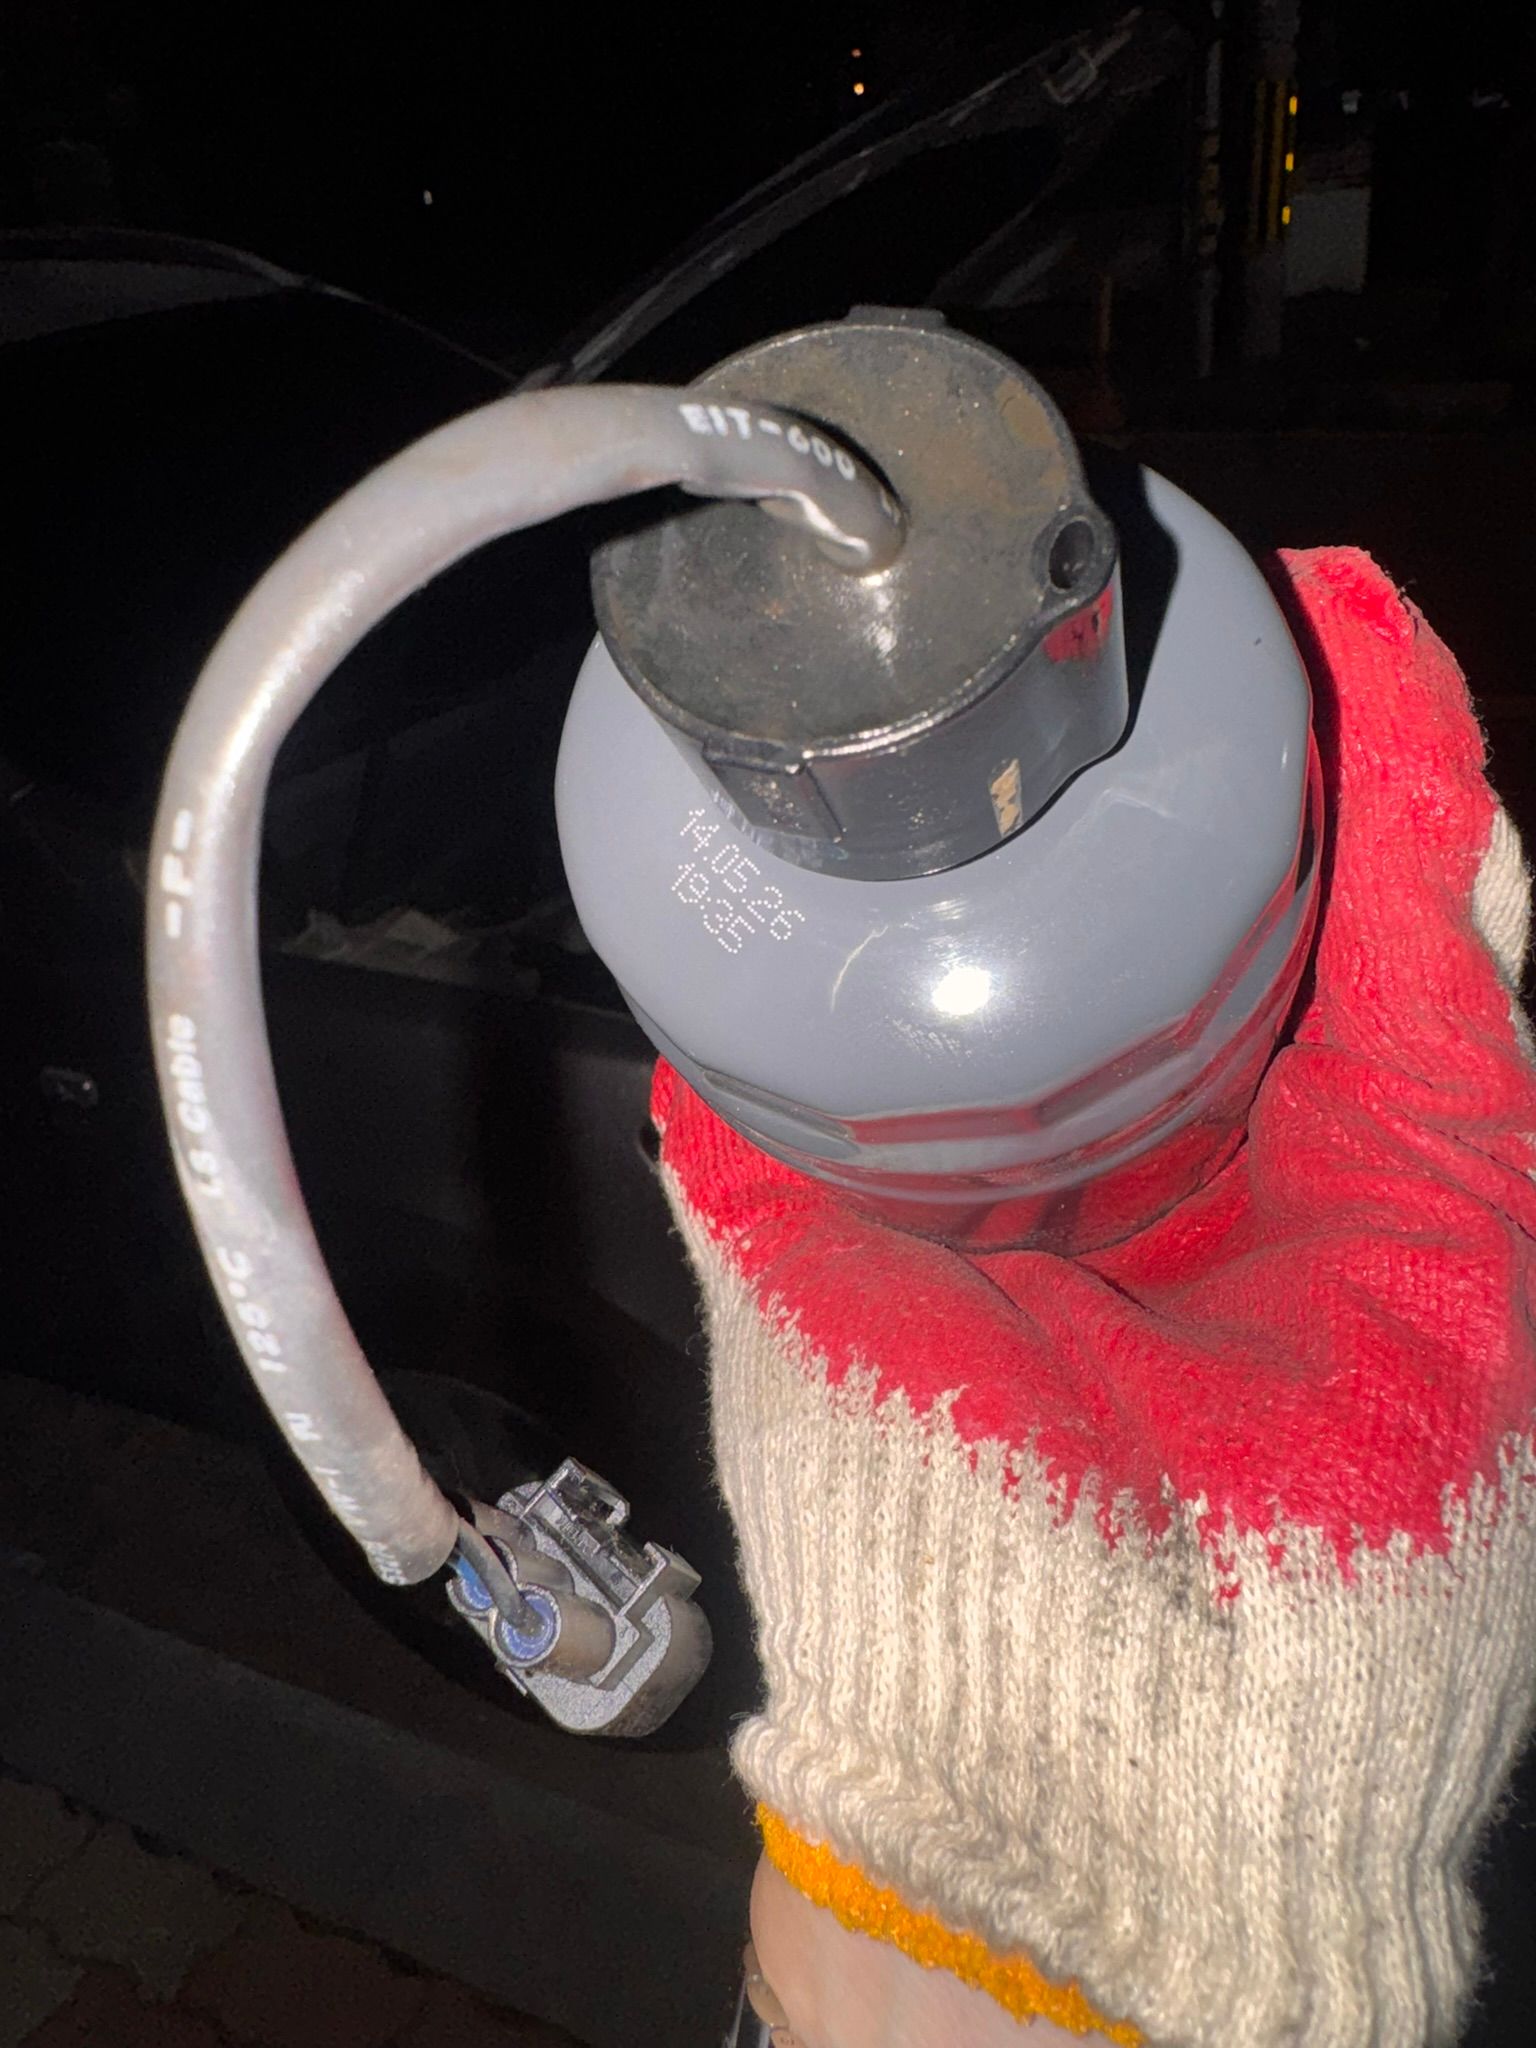
The new cartridge I bought appears to have been manufactured in 2014.
So what on earth does 27.12.10 mean?
Maybe we accidentally bought a used car from the future.
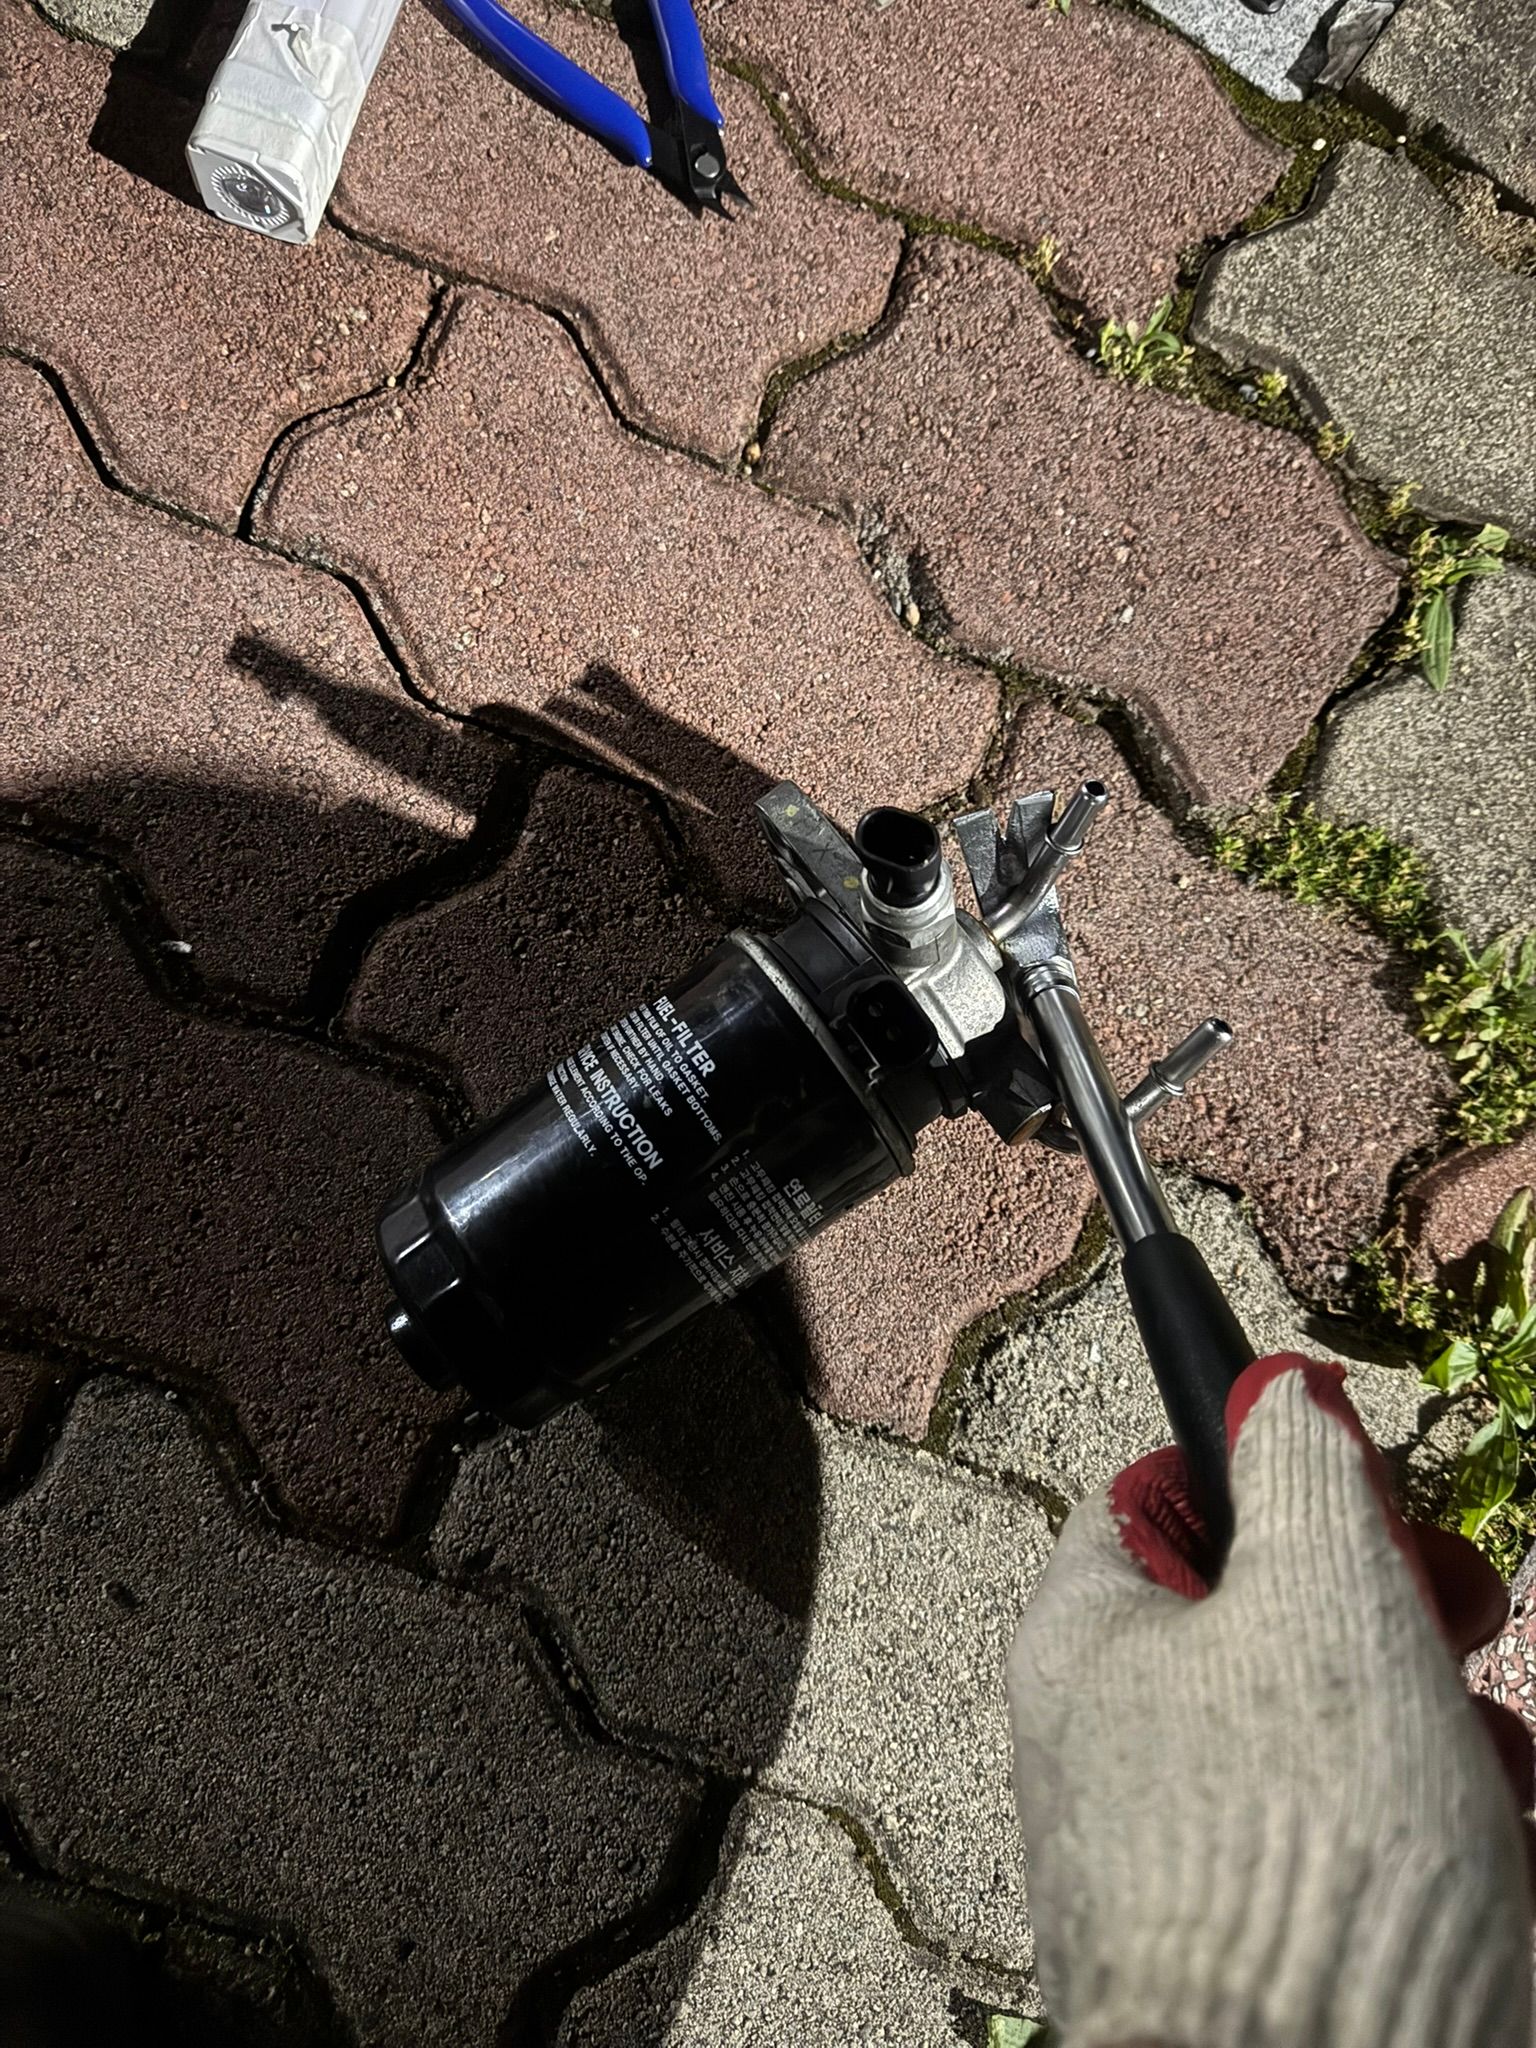
Anyway, to replace the cartridge, you have to separate it from the upper assembly.
If you are replacing the entire assembly, just use the new assembly as it is.
This is where things went wrong for me.
Everyone I saw online made it look easy with a dedicated cylindrical filter wrench or something similar.
But a graduate student doing this on the street was hardly going to have professional tools like that.
At first, I thought I could just muscle it off. Not a chance. I wasted about two hours here.
In the end... I hooked the claw hammer I had onto it as shown in the photo, held the old cartridge down with my foot, and finally managed to wrestle it off.
I tried everything, including wrapping a belt around it.
Move the water-in-fuel sensor from the bottom of the old cartridge onto the new one as well.
Quite a lot of diesel comes out when you remove it.
Time to put it together. Spread a little of the remaining diesel evenly over the rubber seal at the top of the new cartridge. It acts as a lubricant. Apparently, the rubber can get damaged during installation if you skip this.
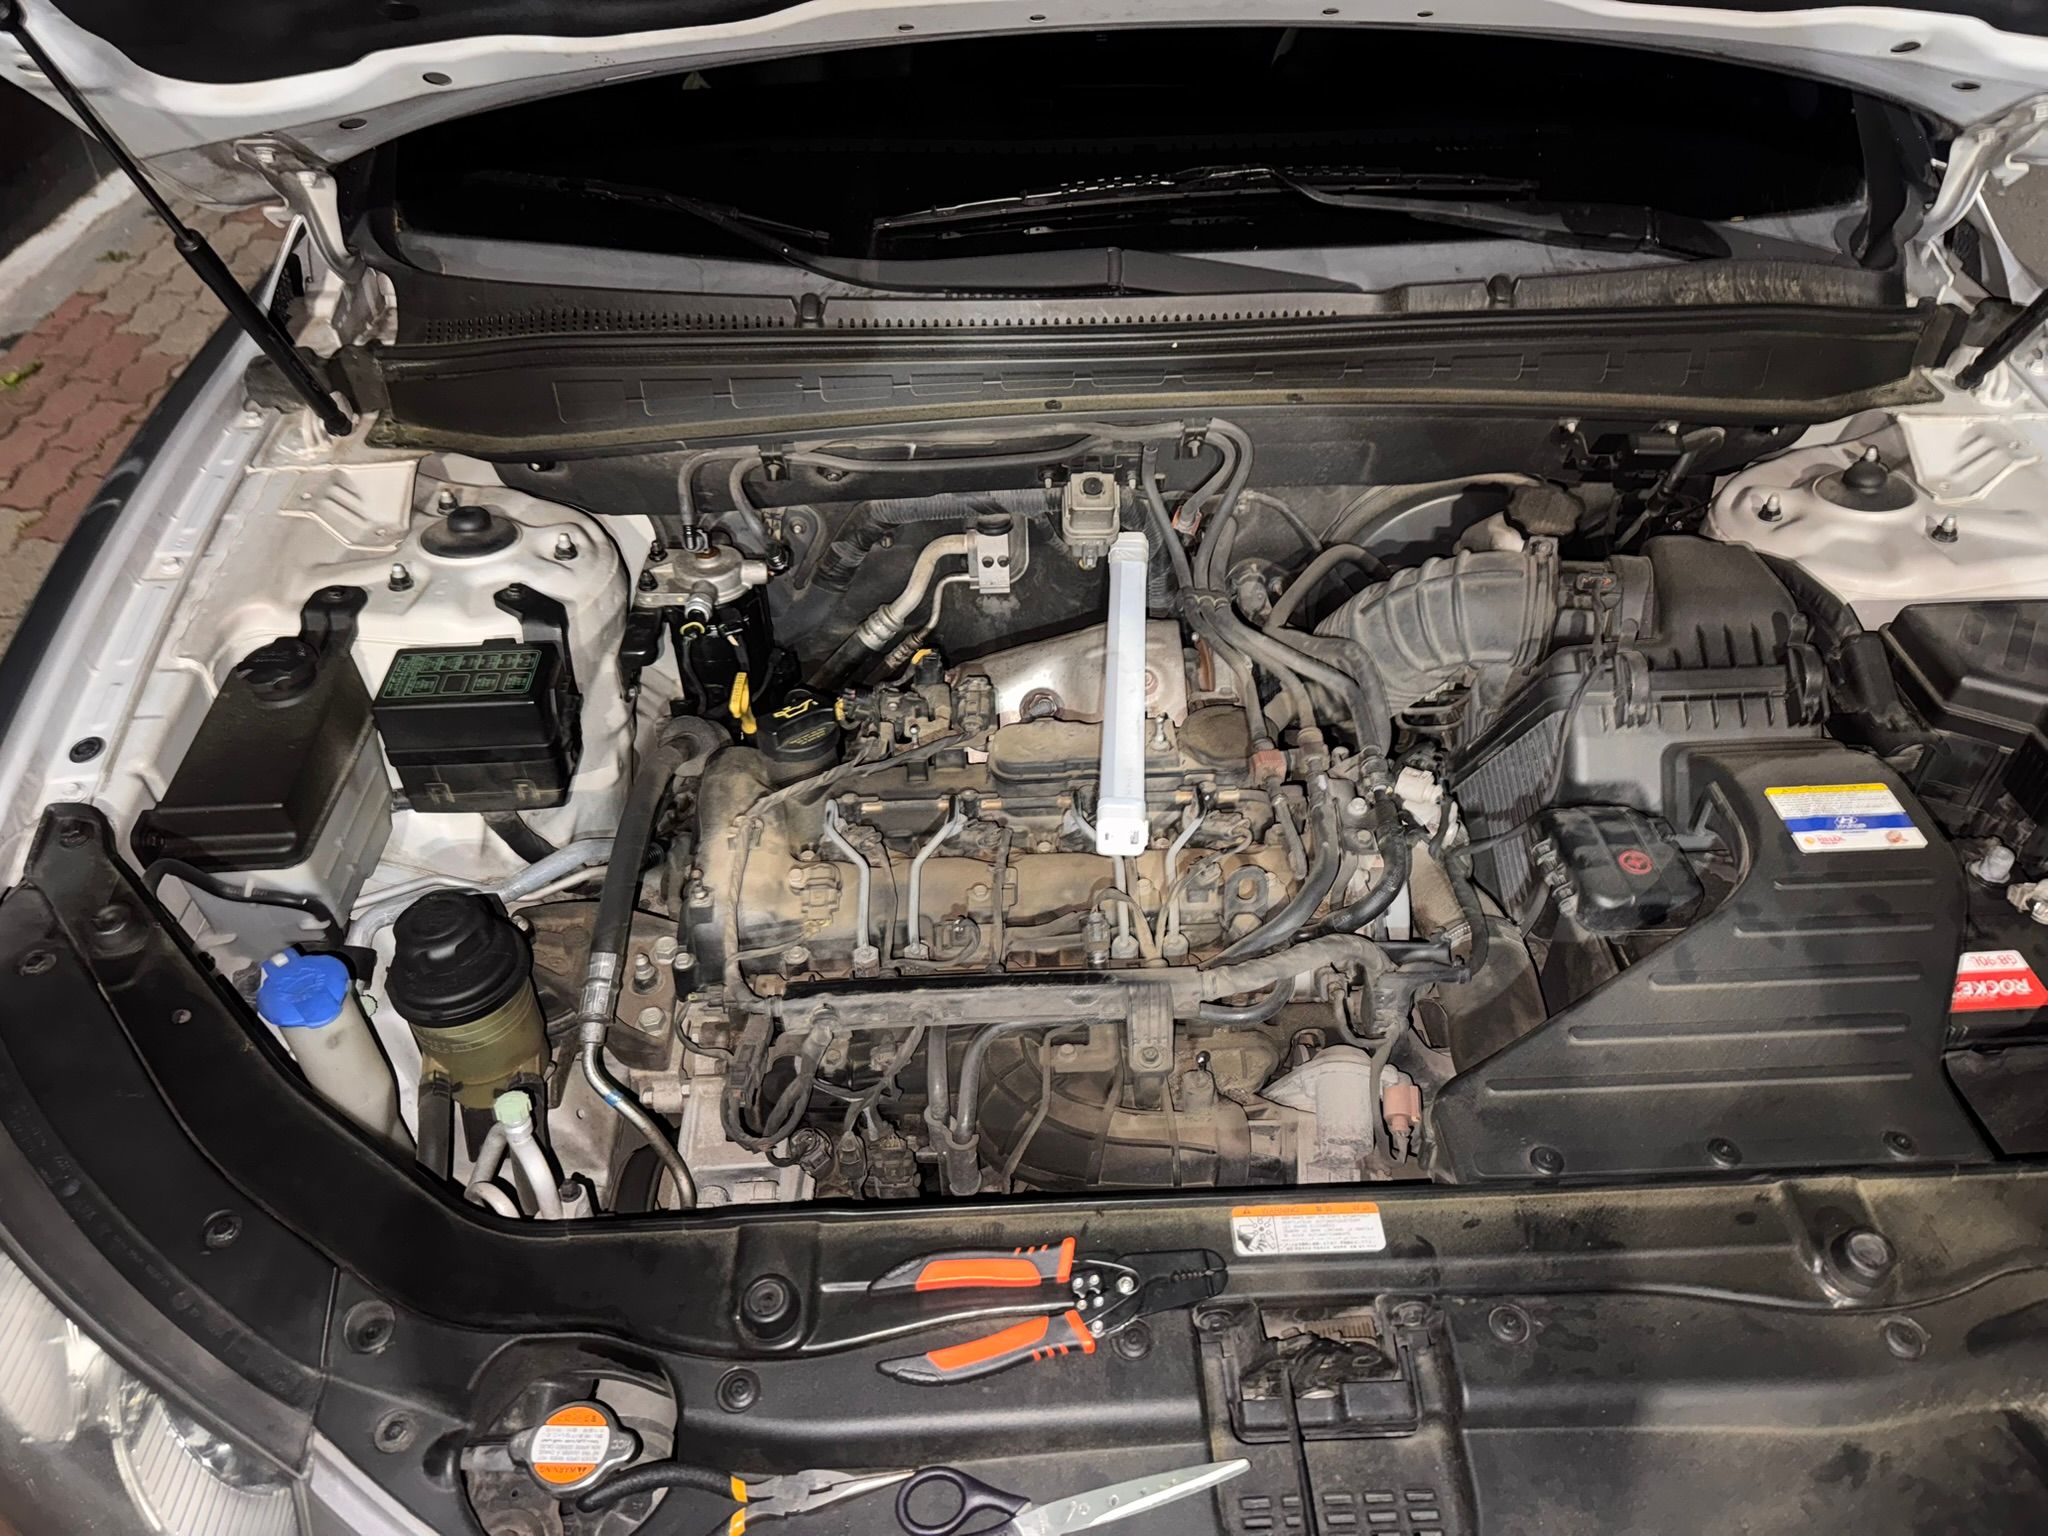
Once again, reassembly is the reverse of disassembly...
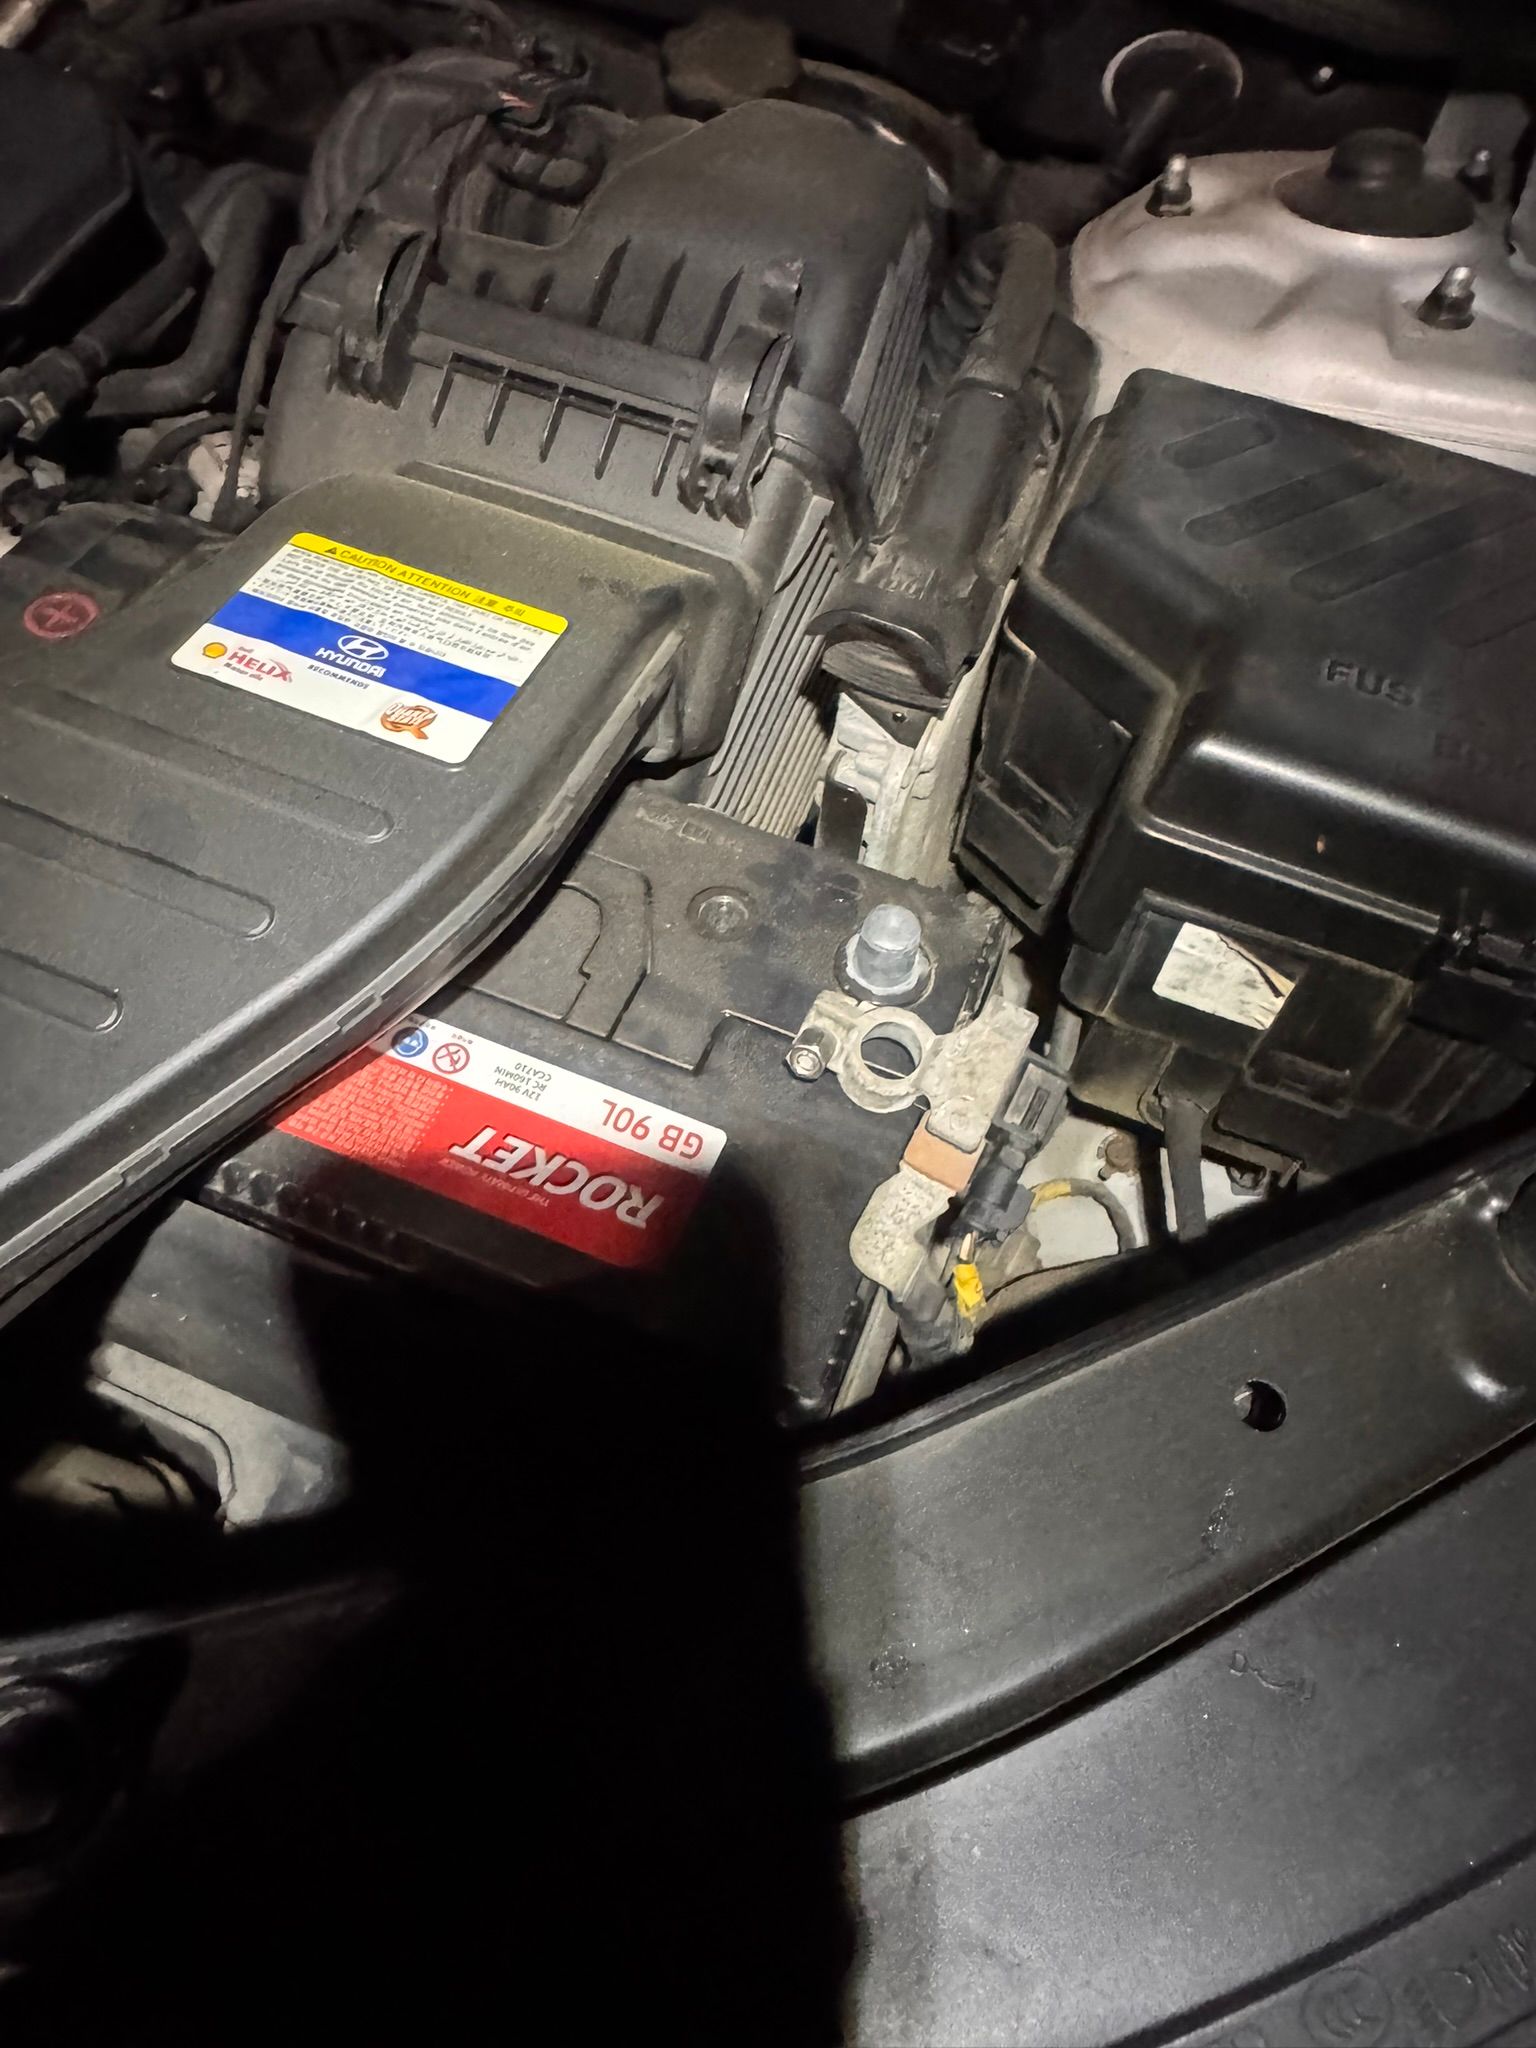
Reconnect the battery.
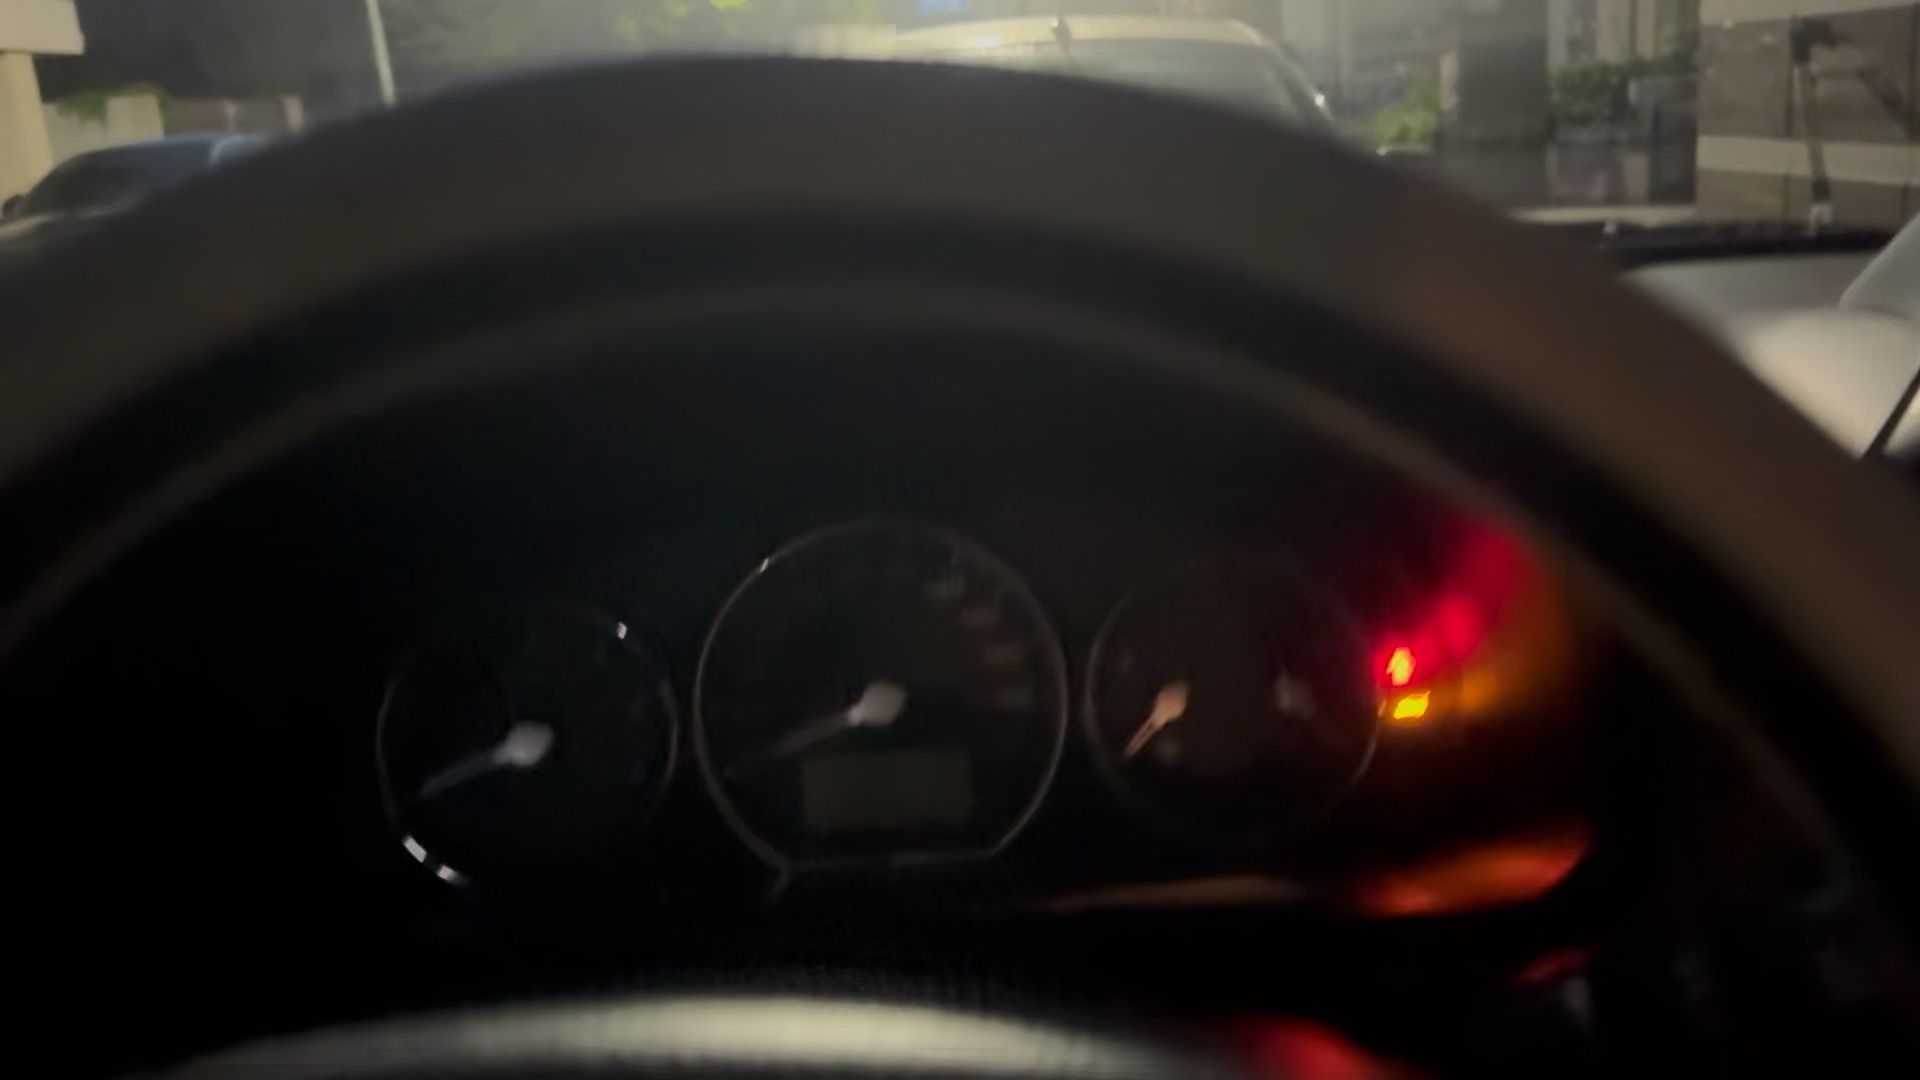
Now comes what is called bleeding the air out of the fuel system.
If you know what you are doing, filling the new cartridge with diesel beforehand makes this much easier. I was doing this on the street without a convenient source of clean diesel, so I went ahead without it.
The engine won't start immediately after the replacement.
Turn the key just far enough to switch the power on, without cranking. Listen carefully and you'll hear a low humming sound.
That is the fuel pump running. It needs to run several times to refill the hoses and fuel filter that emptied during the job before the engine can start.
I let it hum, waited a few minutes or so, switched it off, and turned the power on again. After repeating that more than ten times, it finally started!
Thanks for reading.
Sincerely, Dong-Ha Shin
Comments